Cómo hacer props para fotos. How to create props for photographs

tiramisuvistafrontal

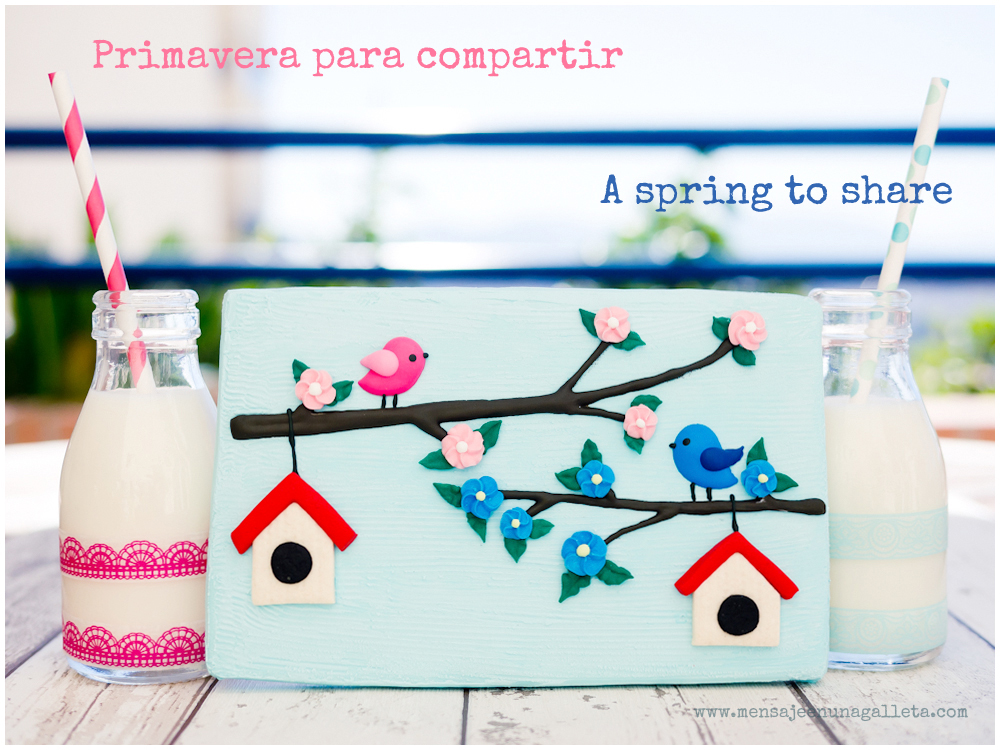
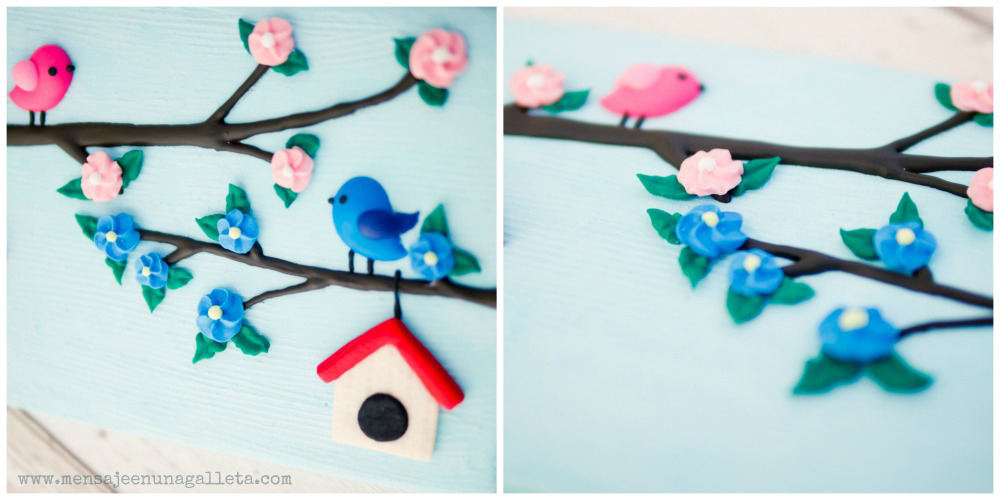
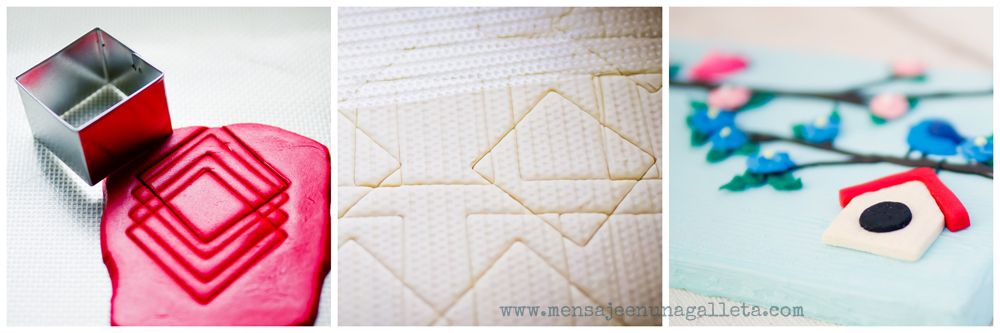
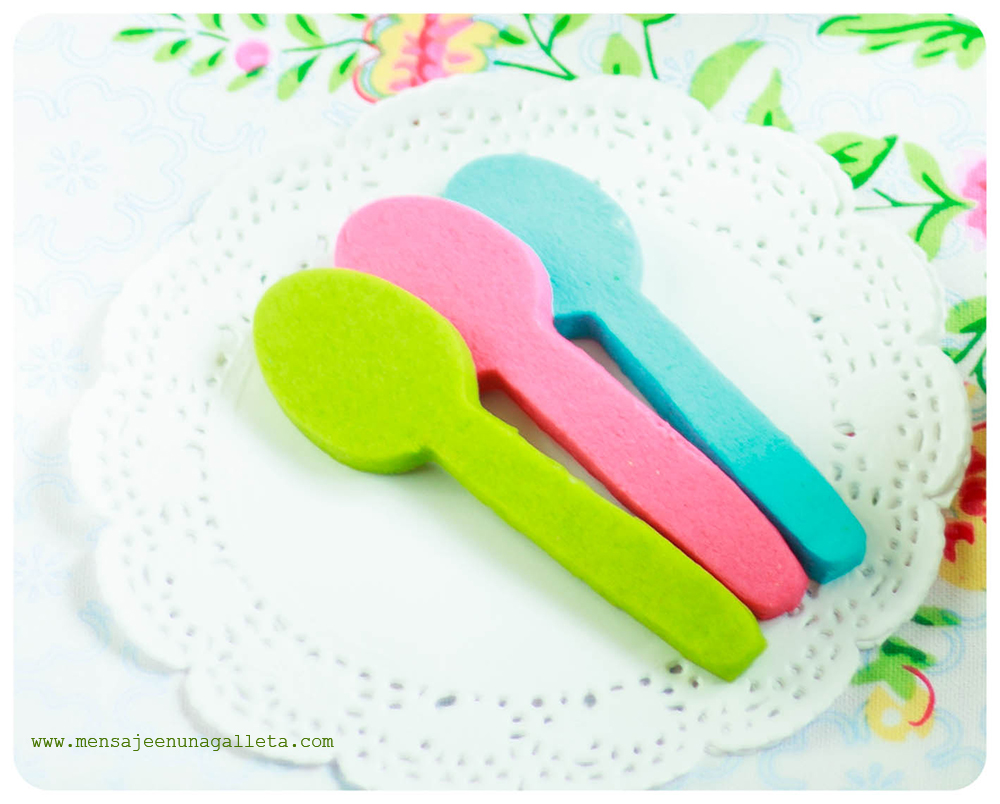
Uno de los principales quebraderos de cabeza a la hora de hacer fotos para un blog de cocina, no sólo son las recetas en sí, sino todo el attrezzo o props que salen en la foto. Hace unos días nos compramos unos cortadores de cuchara y Miriam me comentó lo monas que quedarían unas cucharas de colores con esos cortadores. Efectivamente, con los electric colors de Americolor y empleando la técnica del doble horneado y la técnica para conseguir galletas azules, así fue.

One of the main headaches when it comes to photographing food for a blog, it is not just the recipes themselves, but all the attrezzo or props that you can see in the photos. Some days ago we bought some spoon cutters, and Miriam said that some colourful cookies using those cutters would be really cute. And she was right. I made the cookies using the Electric Colours from Americolor, the double baking technique and the steps for making blue cookies.

tiramisucucharas

Vale, ya tenía mis props, ahora faltaba lo más «fácil», la receta. Como en casa tenía muchos huevos, aproveché para hacer un tiramisú, todo un clásico. En lugar de usar bizcochos de soletilla, hice una plancha de bizcocho sin levadura pero que lleva mucho aire incorporado durante la elaboración.

Ok, I already had my props, now ‘the easiest’ part was missing: the recipe. As I had a lot of eggs at home, I prepared a classic dessert, tiramisu. Instead of using ladyfingers, I made a sheet of sponge cake with no baking powder in it but incorporating a lot of air to the batter.

Ingredientes para el «falso» bizcocho

120 gr de azúcar, 120 gr de harina de fuerza, 4 huevos, un pellizco de sal y una cucharadita de vainilla en pasta

Ingredients for the ‘false’ cake

120 grams of sugar, 120 grams of strong flour, 4 eggs, a pinch of salt and a teaspoon of vanilla paste.

Ingredientes para el resto del tiramisú

100 gr de azúcar glas, 5 yemas de huevo, 500 gr de queso mascarpone, nuevamente una cucharadita de vainilla en pasta, café ya enfriado y cacao en polvo para decorar.

Ingredients for the rest of the tiramisu

100 grams of icing sugar, 5 egg yolks, 500 grams of mascarpone cheese, another teaspoon of vanilla paste, some cooled coffee and cocoa powder for decorating.

Vayamos con la preparación del bizcocho.

Introducimos la harina y batimos a velocidad 6 durante 1 minuto para tamizarla y la reservamos. Ponemos los huevos y el azúcar en el vaso, acoplamos la mariposa, seleccionamos temperatura 37 grados y, durante 5 minutos, batimos a velocidad 3 y medio. Paramos la máquina, quitamos la temperatura y batimos otros 5 minutos a la misma velocidad.

Let’s go for the cake elaboration.

We put the flour in the Thermomix bowl and mix on speed 6 for 1 minute to sift. Set aside. We put the eggs and the sugar in the bowl, attach the butterfly, select 37º, and mix on speed 3.5 for 5 minutes. We turn the robot off, no temperature, and mix for another 5 minutes using the same speed.

A continuación, echamos la mezcla en un bol y añadimos la harina poco a poco, mezclando con una espátula suavemente para no eliminar las burbujas de aire que contiene la mezcla. Ponemos un papel de horno encima de una bandeja con tapa, como ésta de Bra, y vertemos ahí la mezcla.

Then we put that mixture in a bowl and start adding the flour little by little, stirring very softly with a spatula trying not to eliminate the air bubbles of the batter. We cover a lidded tray like this one from Bra with parchment paper and pour the batter in it.

bizcochoantesdehornear

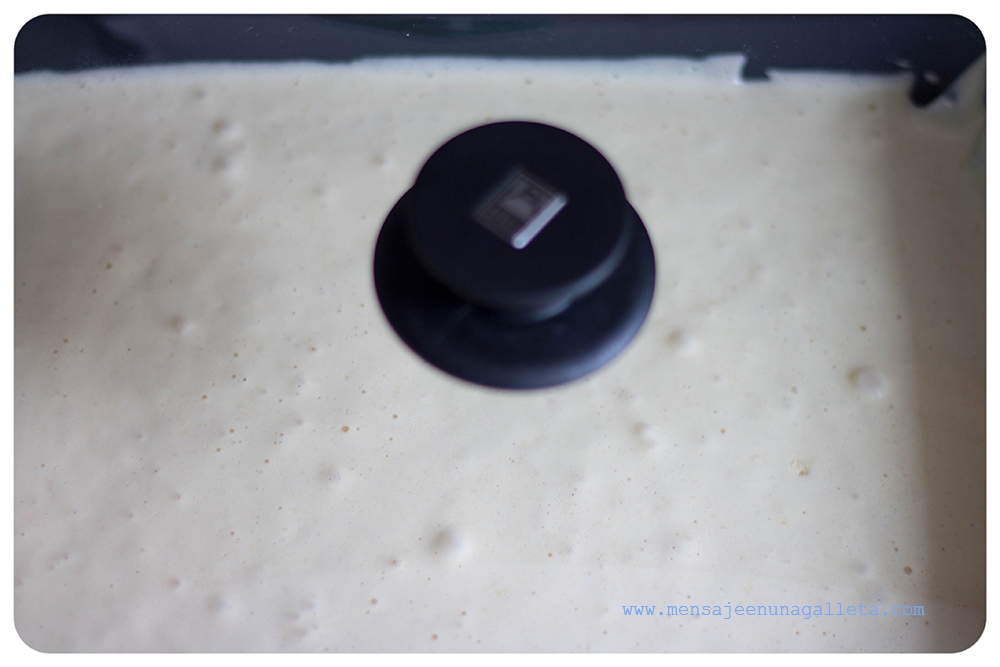
La altura del bizcocho es de un cm de grosor aproximadamente. Horneamos durante 25 minutos a 180 grados

The cake height is approximately 1 cm. We bake it at 180ºC for 25 minutes

bizcochohorneado

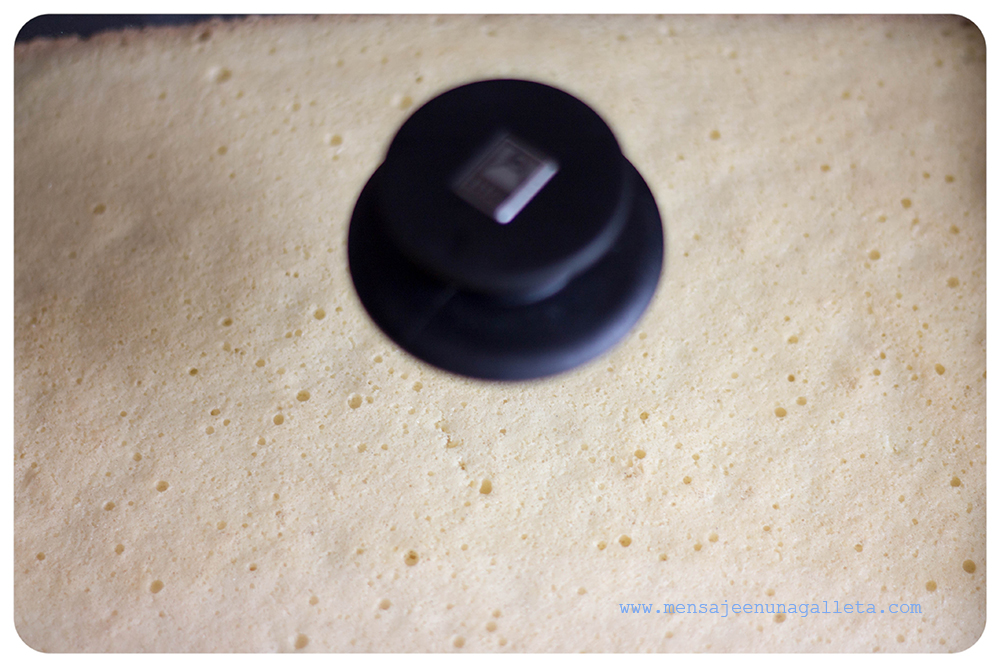
En este punto, podemos cortar varios rectángulos de bizcocho o bien, usar un cortador circular del tamaño de unos vasos bajos que tengamos para montar las capas.  Si usáis el cortador, podréis comprobar cómo se oye un ssssshhhhhhhhh cuando lo apretéis contra el bizcocho.

This is the moment when we can either cut several cake rectangles or use a round cutter, the size of a rock glass, to arrange the layers. If you use the cutter, you will hear a kind of sssssshhhhhh when you press it against the cake.

Vamos ahora con la elaboración de la parte cremosa.

Batimos las 5 yemas con el azúcar y la vainilla a velocidad 3 y medio con la mariposa de nuevo durante 3 minutos. Incorporamos el queso y batimos a la misma velocidad durante 2 minutos y ni un minuto más porque si batimos en exceso, el queso pierde toda su cremosidad y pasa a ser completamente líquido.

Now, the elaboration of the creamy part.

We whisk the 5 egg yolks with the sugar and vanilla on speed 3.5, butterfly attached, for 3 minutes. Add the cheese and whisk on same speed for 2 minutes, not a second more, because if we over mix, the cheese will lose all its creaminess and will be completely liquid.

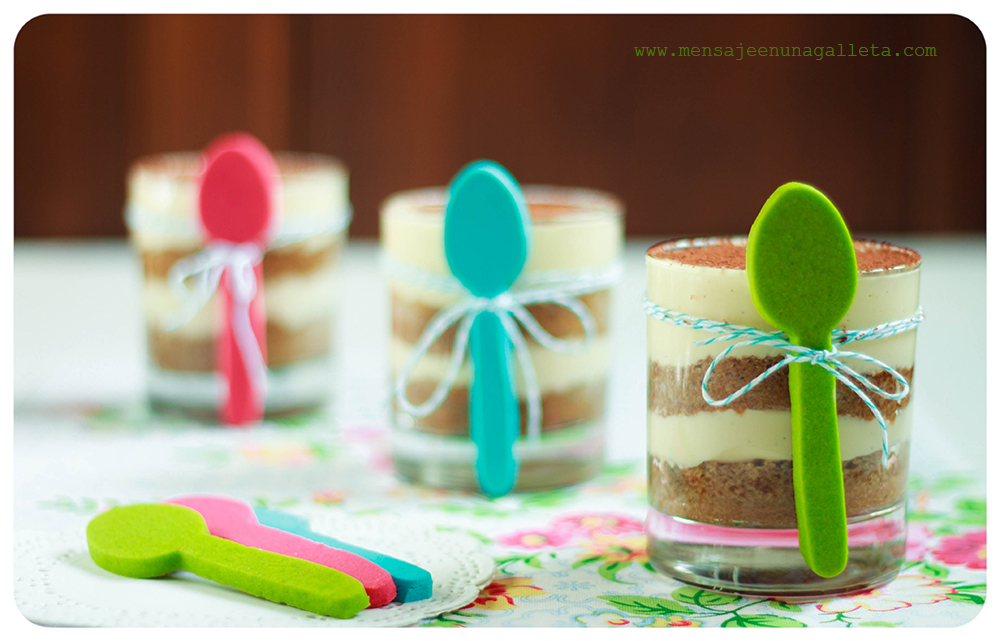
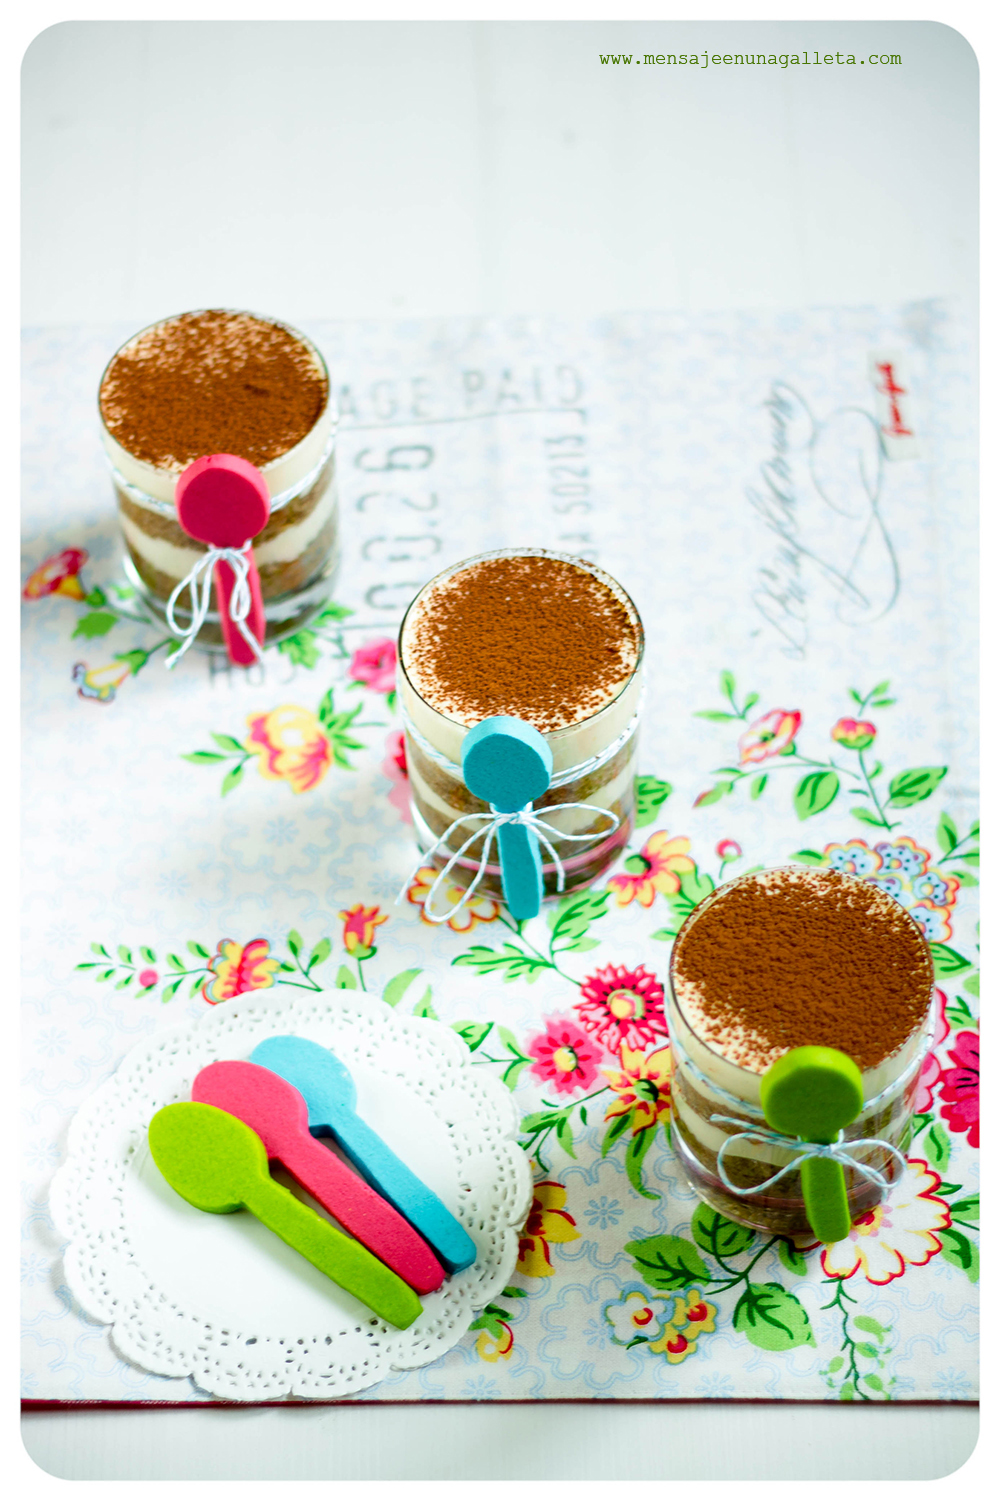
Llegamos al montaje.

En el recipiente que hayamos seleccionado, ponemos una capa de bizcocho, vertemos un poco de café sobre él hasta que se empape y después ponemos una capa de crema. Seguimos sucesivamente hasta terminar en una capa de crema que espolvorearemos con cacao, adornamos con nuestras preciosísimas cucharas y damos por finalizada la receta.

Assembling the dessert

In the glass/bowl we have selected, we put a cake layer, pour a little bit of coffee on it until it is soaked and then add a cream layer. We repeat the process until we finish with a cream layer that we will dust with cocoa powder. Decorate using our precious spoons and the recipe is done.

tiramisusdesdearriba

Por cierto, hice también algunas cucharas de chocolate que no sé si van a llegar para la próxima sesión de fotos 😉

By the way, I also made some chocolate spoons which I doubt will survive the next photo shoot  😉

Un beso/Love

Estíbaliz

PS: Once again, thank you Gloria!

Primavera para compartir – A spring to share


primaveraparacompartir

[haiku url=»http://www.mensajeenunagalleta.com/wp-content/mp3/primavera.mp3″ title=»»]

Sí, lo sé: ¡Es monísima! La botella es ideal en si misma, pero con el washi tape está divina. Por primera vez me siento como una auténtica cuquiblogger: ¡Estoy tan emocionada! Ja, ja, ja.

¿La galleta? ¿También es mona? La he preparado para poder compartir con vosotras un par de ideas. La primera es el “acabado madera”, fruto de la casualidad como la tarta tatin que tanto me gusta. Mi equivocación no ha tenido todavía la repercusión que la de Stéphanie Tatin, pero todo se andará.

Yes, I know, it’s so cute! The bottle itself is ideal, but with the washi tape it looks divine. For the first time I feel like a real cheesy blogger. I’m so excited! Ja, ja, ja.

The cookie? Is it cute too? I’ve prepared it in order to share a couple of ideas with you. The first one is the «wood grain effect», a matter of chance, as the tarte tatin that I like so much. My mistake has not had the same impact as Stéphanie Tatin’s yet, but we will get there.

cuchillitodeikea

Glaseé por los cuatro costados dos galletones (19x12x1 cm), y cuando fui a verlos al día siguiente tenían manchas blancas. Me recriminé, Miriam, eso por impaciente, por no dejar que la mantequilla se asiente. Decidí echarles una capa más, la glasa todo lo tapa. Volví a teñir glasa y conseguí un tono muy parecido, pero no idéntico. Era tan bonito ver esos dos tonos similares entremezclarse, que me entretuve y el glaseado empezó a secarse antes de que hubiese podido nivelarlo, volví a recriminarme, Miriam estás en Babia. Cogí un cuchillo para eliminar la glasa y así poder empezar de nuevo, pero en lugar de usar la parte lisa, me equivoqué de nuevo, y use la estriada: ¡Voila! Ahí lo tenéis, el efecto madera.

I iced two big cookies (19x12x1 cm) on all four sides, and when I checked them the next day they had white stains. I reproached myself, Miriam, that’s what happens when you’re impatient and you don’t let the butter settle. I decided to apply another coat, as royal icing covers everything. I dyed the icing again and obtained a very similar shade, but not identical. I was so amused seeing those two similar shades intermingle, that the icing started to dry before I could level it. I reproached myself again, Miriam, you are daydreaming. I took a knife to eliminate the royal icing and start all over again, but instead of using the blunt side, I made a mistake again and used the jagged edge: Voilà! There you go, the wood grain effect.

Vamos a por la segunda idea, ésta es muy útil, sobre todo si tenemos un montón de galletas por delante: Prepara los detalles por adelantado. Las flores, las hojas, los pájaros, los hice un par de semanas atrás, y los guardé en pequeñas fiambreras de tapa morada. El día que decoré la galleta sólo necesité llenar dos mangas pasteleras, una con glasa marrón para las ramas, y otra con glasa negra para los piquitos, las patitas y las cuerdas de las casitas de los pájaros. Las flores, las hojas y los pájaros los pegué con un poquito de la glasa color azul cielo aplicada con pincel y, como veis, no se nota.

Let’s go for the second idea, this one is very useful, most of all if we have a lot of cookie decoration ahead: Prepare the details in advance. The flowers, the leaves, the birds, I made them a couple of weeks ago, and kept them in little lunch boxes with a purple lid. The day I decorated the cookie I only needed to fill two icing bags, one with brown royal icing for the branches and another one with black royal icing for the peaks, the feet and the rope of the birdhouses. The flowers, leaves and birds I glued them with a bit of the sky blue royal icing applied with a brush, and as you can see, you can’t tell.

detalles

Bueno, al final no son un par de ideas, son tres. La tercera es cómo hacer una casita de pájaro tan sólo con un cortador cuadrado. La puerta está hecha con una boquilla redonda grande. Las piezas se unen ellas solas en el horno, como siempre.

Well, in the end, they are not a couple of ideas, but three. The third one is how to make a small birdhouse just using a square cutter. The door is made with a big round tip. The pieces are joined together in the oven, as usual.

casita

Y por si aún albergáis alguna duda sobre si la primavera era para compartir, os dejo una foto de mis niñas que disfrutaron de lo lindo, no sólo saboreando la galleta, que era de leche merengada, sino arrancado las flores, las hojas, los pájaros, para comérselos, claro.

And in case you still have any doubts as if spring was made to be shared, I add a picture of my girls, who had a great time not only savoring the cookie, which tasted of cinnamon milk, but pulling out the flowers, the leaves, the birds…to eat them, of course.

elfinal


Un beso, Miriam G.

Love, Miriam G.

By the way, MEUG really loves Gloria.

¡Gracias Julia! (Y cómo hacer cristal de azúcar)

Como todos sabéis hace algunas semanas  ganamos un concurso de Julia M. Usher con nuestras layer cookies.
El premio, como también sabéis,  resultó ser una caja repletita de fantásticos productos para elaborar galletas.

Mi primer impulso fue utilizar las plantillas de mariposas, lo seguí, y fue un desastre. Así no hay quien adelgace cuando algo no me convence, en lugar de regalarlo,  me lo como.
Mi segundo impulso fue hacer una colección de mariposas, también lo seguí, y a la primera salió mal pero me las ingenié para poder regalar las galletas añadiéndoles algo de pintura


Y como todos también sabéis a la tercera conseguí meter mis mariposas detrás de un cristal. Y os cuento cómo, qué es muy fácil.
Hice 8 galletonas grandes, con un profundo hueco en su interior.

Rellené ese hueco con glasa, a lo loco, apretando mucho la manga pastelera.

Esperé pacientemente día y medio a que se secase, porque en Málaga teníamos una humedad terrible.  Recorté algunas de las bonitas mariposas que me había enviado Julia y las pegué con un poco de sirope claro de maíz.


Preparé cristal de azúcar y se lo eche por encima: ¡Listas!


Y me preguntaréis cómo se prepara el cristal de azúcar.  Facilísimo. Te pasas una semana buscando recetas en  internet y probándolas para comprobar que ninguna funciona. El cristal queda muy oscuro, o no se solidifica nunca, o se vuelve grumoso al enfriarse… Así que te pasas una semana más intentando dar con tu propia receta hasta que llegas a ésta:


–    150 g. de azúcar glas
–    50 ml. de agua
–    15 ml.  de sirope claro de maíz
–    1 pellizco de crémor tártaro.
Y luego tienes dos opciones, comprarte un termómetro y controlar la temperatura de la mezcla durante 30 ó 35 minutos para que nunca sobrepase  los 150º C o fiarte de mi palabra y ponerlo al cuatro y remover de vez en cuando.


Al principio la mezcla es muy líquida pero cuando cambie de textura es el momento de echar un poco sobre un tapete de silicona, si se solidifica rápidamente y a los pocos segundos ya forma hilos, la mezcla está lista, podéis echarla sin miedo sobre vuestras galletas.

Ahora, después de tanta mariposa, una breve reflexión personal. Me encanta hacer galletas, sí, no es una noticia de última hora. Es tan gratificante que gracias a ellas he podido conocer a  gente maravillosa como Julia M. Usher,  que no habría conocido de ninguna otra manera.

Un beso,

Miriam G.

Deja que tu masa brille – Let your dough shine

¡EXTRA, EXTRA! ¡Noticias de ultima hora! NUEVO TALLER EN SEPTIEMBRE. Toda la información sobre nuestro curso de galletas de decoradas la podéis encontrar pinchando aquí. Y si os animáis a apuntaros podéis hacerlo aquí.

Estos días hemos recibido en nuestro correo cientos de veces, vale exageramos, decenas de veces, la misma pregunta: “¿Qué hacéis para que vuestra masa brille?” Nuestra masa no brilla, pero sí es cierto es que nuestros colores son muy luminosos.  ¿Cómo lo conseguimos? Con el doble horneado.  Y ¿por qué horneamos dos veces? ¿Por hacerle un guiño al término “biscuit” (cocido dos veces)? No, las galletas y los bizcochos se horneaban dos veces para reducir la humedad que contenían y así prolongar su tiempo de conservación. Nosotras lo hacemos para que no pierdan el color.

Lately, we have received hundreds…ok, let’s not exaggerate, dozens of emails with the same question: ‘What do you do in order to make your dough shine?’. Our dough does not shine, but the truth is that our colours are very bright. How do we get that? With double baking. And why do we double bake? As a wink to the term ‘biscuit’ (twice-cooked)?. No, cookies and cakes were baked twice in order to reduce the humidity and then prolong their preserving time. We double bake so the cookies don’t lose their colour.


Cuando la masa de las galletas alcanza una temperatura, cambia de color y se tuesta, como le pasa a todas las cosas cuando las calentamos de más.  Por desgracia este proceso no es uniforme, la superficie se calienta antes que el interior. En el momento que la superficie de la galleta tiene el color que deseamos, justo antes de que empiece a dorarse, que es la forma poética de decir quemarse, el interior de la galleta no está completamente cocido: ¡Menudo problema! Y el problema va creciendo con el tamaño de la galleta. Si ya tenéis cierta experiencia horneando galletas, sabréis que la máxima: “Sacarlas del horno cuando empiecen a dorarse” sólo sirve para galletas pequeñas y medianas, para las grandes, sobre todo si son gruesas, no funciona, hay que esperar un poco más para que no queden crudas por dentro.

When the cookie dough reaches a certain temperature, it changes colour and gets browned, as it happens with any ingredient when we overheat them. Unfortunately this process is not uniform; the surface gets warmed earlier than the inside. In the moment the cookie surface has the colour we desire, right before it starts to ‘get golden’, which is the poetic way of saying ‘get burned’, the inside of the cookie is not entirely cooked: what a problem! And the problem starts to grow with the size of the cookie. If you already have certain experience baking cookies, you will know that the well known saying: ‘take them out of the oven when they start to get golden’ is only valid for small and medium size cookies, for the big ones, most of all if they are thick, it does not work, we have to wait a little more so they don’t get underdone.

¿Cómo solucionamos el problema? Con el doble horneado. Si sacamos la galleta justo justo cuando va a empezar a cambiar de color, su temperatura deja de aumentar. Cuando la volvemos a meter el horno ya estará más frío de lo que estaba, así que nos aseguramos de que la galleta no sobrepasará la temperatura que ha estado a punto de tostarla, y el calor residual del horno terminará de cocerla por dentro y le robará además un poco más de humedad de lo habitual, lo que nos viene de perlas si vamos a ponerle glasa por encima.

How do we solve the problem? With double baking. If we take the cookie out of the oven right when it’s going to change the colour, its temperature stops rising. When we put it back in, the oven will be cooler than it was and this way we make sure that the cookie will not overpass the temperature which has been about to toast it, and the residual heat in the oven will finish baking it on the inside, also taking some more humidity out of the cookie, which is great if we are going to use some royal icing on it afterwards
.

Esta técnica requiere práctica y conocimiento de nuestro horno, cuando digo siete minutos, puedo decir ocho o seis medio.  El problema es que si nos precipitamos y las sacamos antes de tiempo, ya no hay forma de recuperar la galleta, se queda cruda en el centro. Y si nos retrasamos tendremos deliciosas galletas de color pardo. No sale a la primera, y probablemente tampoco a la segunda, pero sale, os lo aseguramos.

This technique needs practising and a good knowledge of our oven. When I say seven minutes, it could be eight or six and a half. The problem is that if we rush and take the cookies out of the oven before time, there will be no chance to recover the cookies; they will be underdone on the inside. And if we let them in the oven for a longer time, as a result we will get beautiful ‘brownish-colour’ cookies. It doesn’t work the first time, and maybe not even during a second attempt, but we assure you that it works.

Otro pregunta muy repetida es ¿como teñís la masa? No os asustéis, esta vez la respuesta va a ser mucho más corta: ¡Hemos grabado un vídeo!

Another question that we repeatedly get is: ‘how do you dye the dough’? Don’t be afraid, this time the answer is going to be much shorter:  we’ve made a video!