Galletas para decorar, la receta definitivaCookies for decorating, the final recipe

En septiembre tenemos una nueva edición de nuestro curso de galletas, en solo cuatro semanas te convertirás en una experta, toda la información en este enlace.

También puedes visitar nuestra agenda, septiembre viene repletito de talleres.

Si quieres estar al día de fechas, talleres y novedades, puedes suscribirte aquí. Además para hacer más llevadera la vuelta si te suscribes te mandamos un regalo a tu correo.

receta1

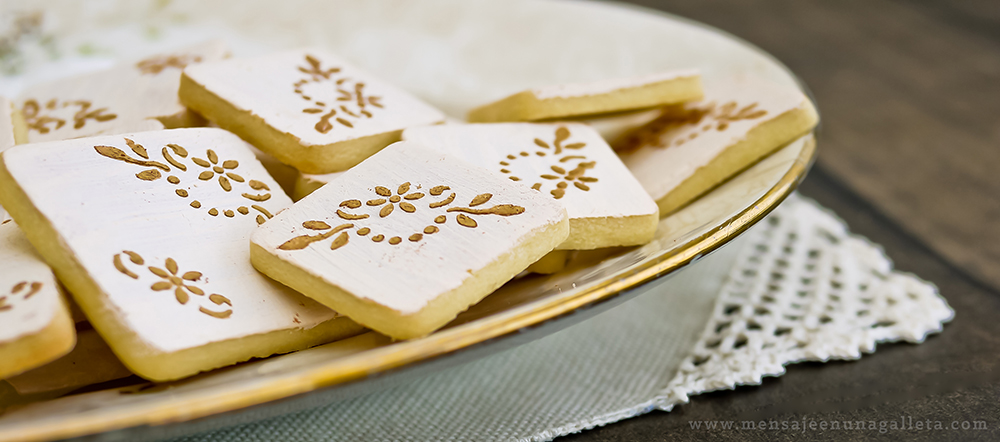
Muchas estaréis pensando: “¡Después de lo que hemos sufrido en los talleres ahora nos cambian la receta!” Podéis respirar, no, no la hemos cambiado. Sigue siendo la misma. Ya la habíamos publicado en el blog en dos o tres ocasiones, pero bajo títulos tales como “Calendario de adviento” o “Galletas de violeta”  y  no era fácil de encontrar. Por eso nos hemos decidido a publicarla de nuevo y con un título que no admita confusión.

Según pasan los meses se nos hace cada vez más difícil contestar todos correos que nos escribís, ellos se multiplican exponencialmente y nosotras no, seguimos siendo dos. Una de las dudas recurrentes es “¿Dónde puedo encontrar la receta de las galletas de vainilla?”,  por eso la volvemos a publicar, arriesgándonos a parecer pesadas.

receta4

Ingredientes

•    200-225 gramos de mantequilla de color claro y buen sabor
•    150 gramos de azúcar glas
•    1 huevo pequeño
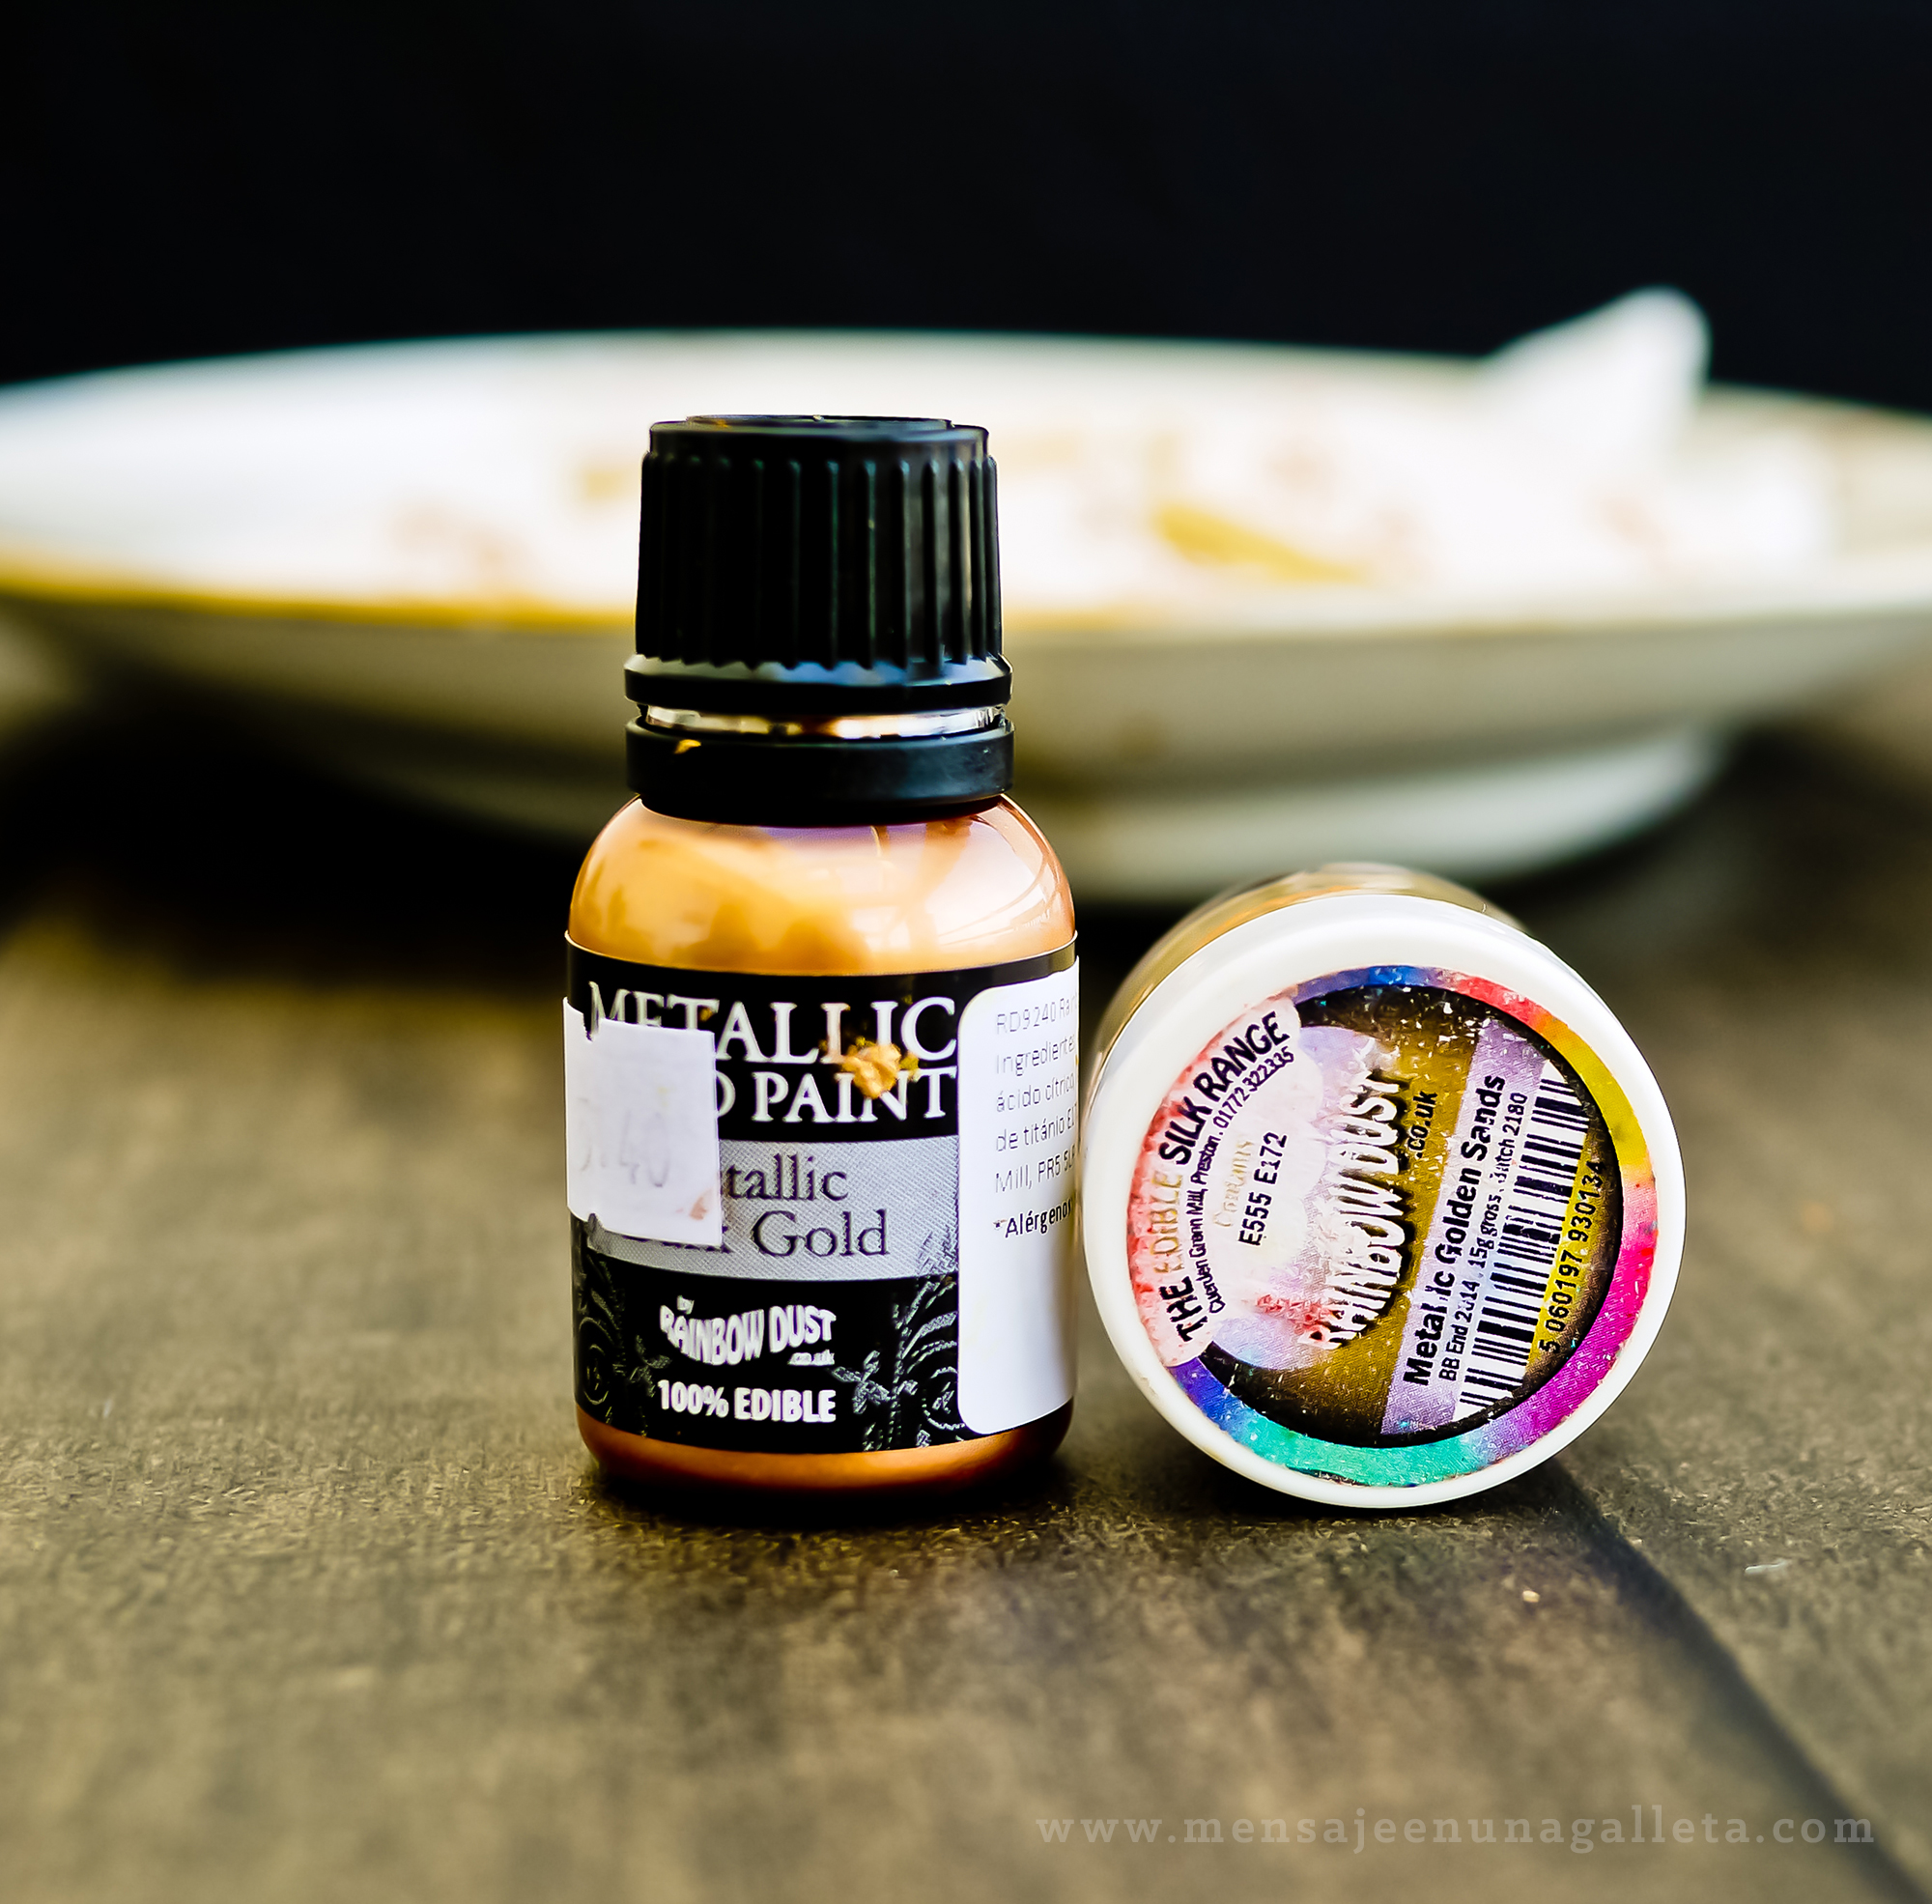
•    1 ó 2 cucharaditas de aroma, extracto o esencia
•    ½ cucharadita de sal
•    400-420 gr de harina floja

Elaboración

Podemos preparar esta receta a mano o a máquina. En KA, en Thermomix o en cualquier otro robot, pero siempre con el accesorio que menos aire introduzca en la masa, esto es importante. El frío es el otro factor. Nada de aire y mucho frío, ese es el secreto para una galleta perfecta.

Los pasos a seguir:

•    Batimos ligeramente la mantequilla.
•    Añadimos el azúcar glas a la mantequilla y batimos a velocidad baja poco tiempo
•    Añadimos el huevo, la cucharita de sal y la esencia-extracto-aroma elegido
•    Añadimos la mitad de la harina y batimos hasta integrar.
•    Añadimos la mitad restante y volvemos a batir.
•    Amasamos sin miedo un buen rato.
•    Hacemos una pelota con la masa y la enfriamos.
•    Estiramos la masa muy fría con un rodillo de niveles.
•    Volvemos a enfriar.
•    Cortamos las galletas en frío y las depositamos sobre la bandeja donde las vayamos a hornear.
•    Volvemos a enfriar.
•    Horneamos sin separar nuestra nariz de la ventana del horno.

receta3

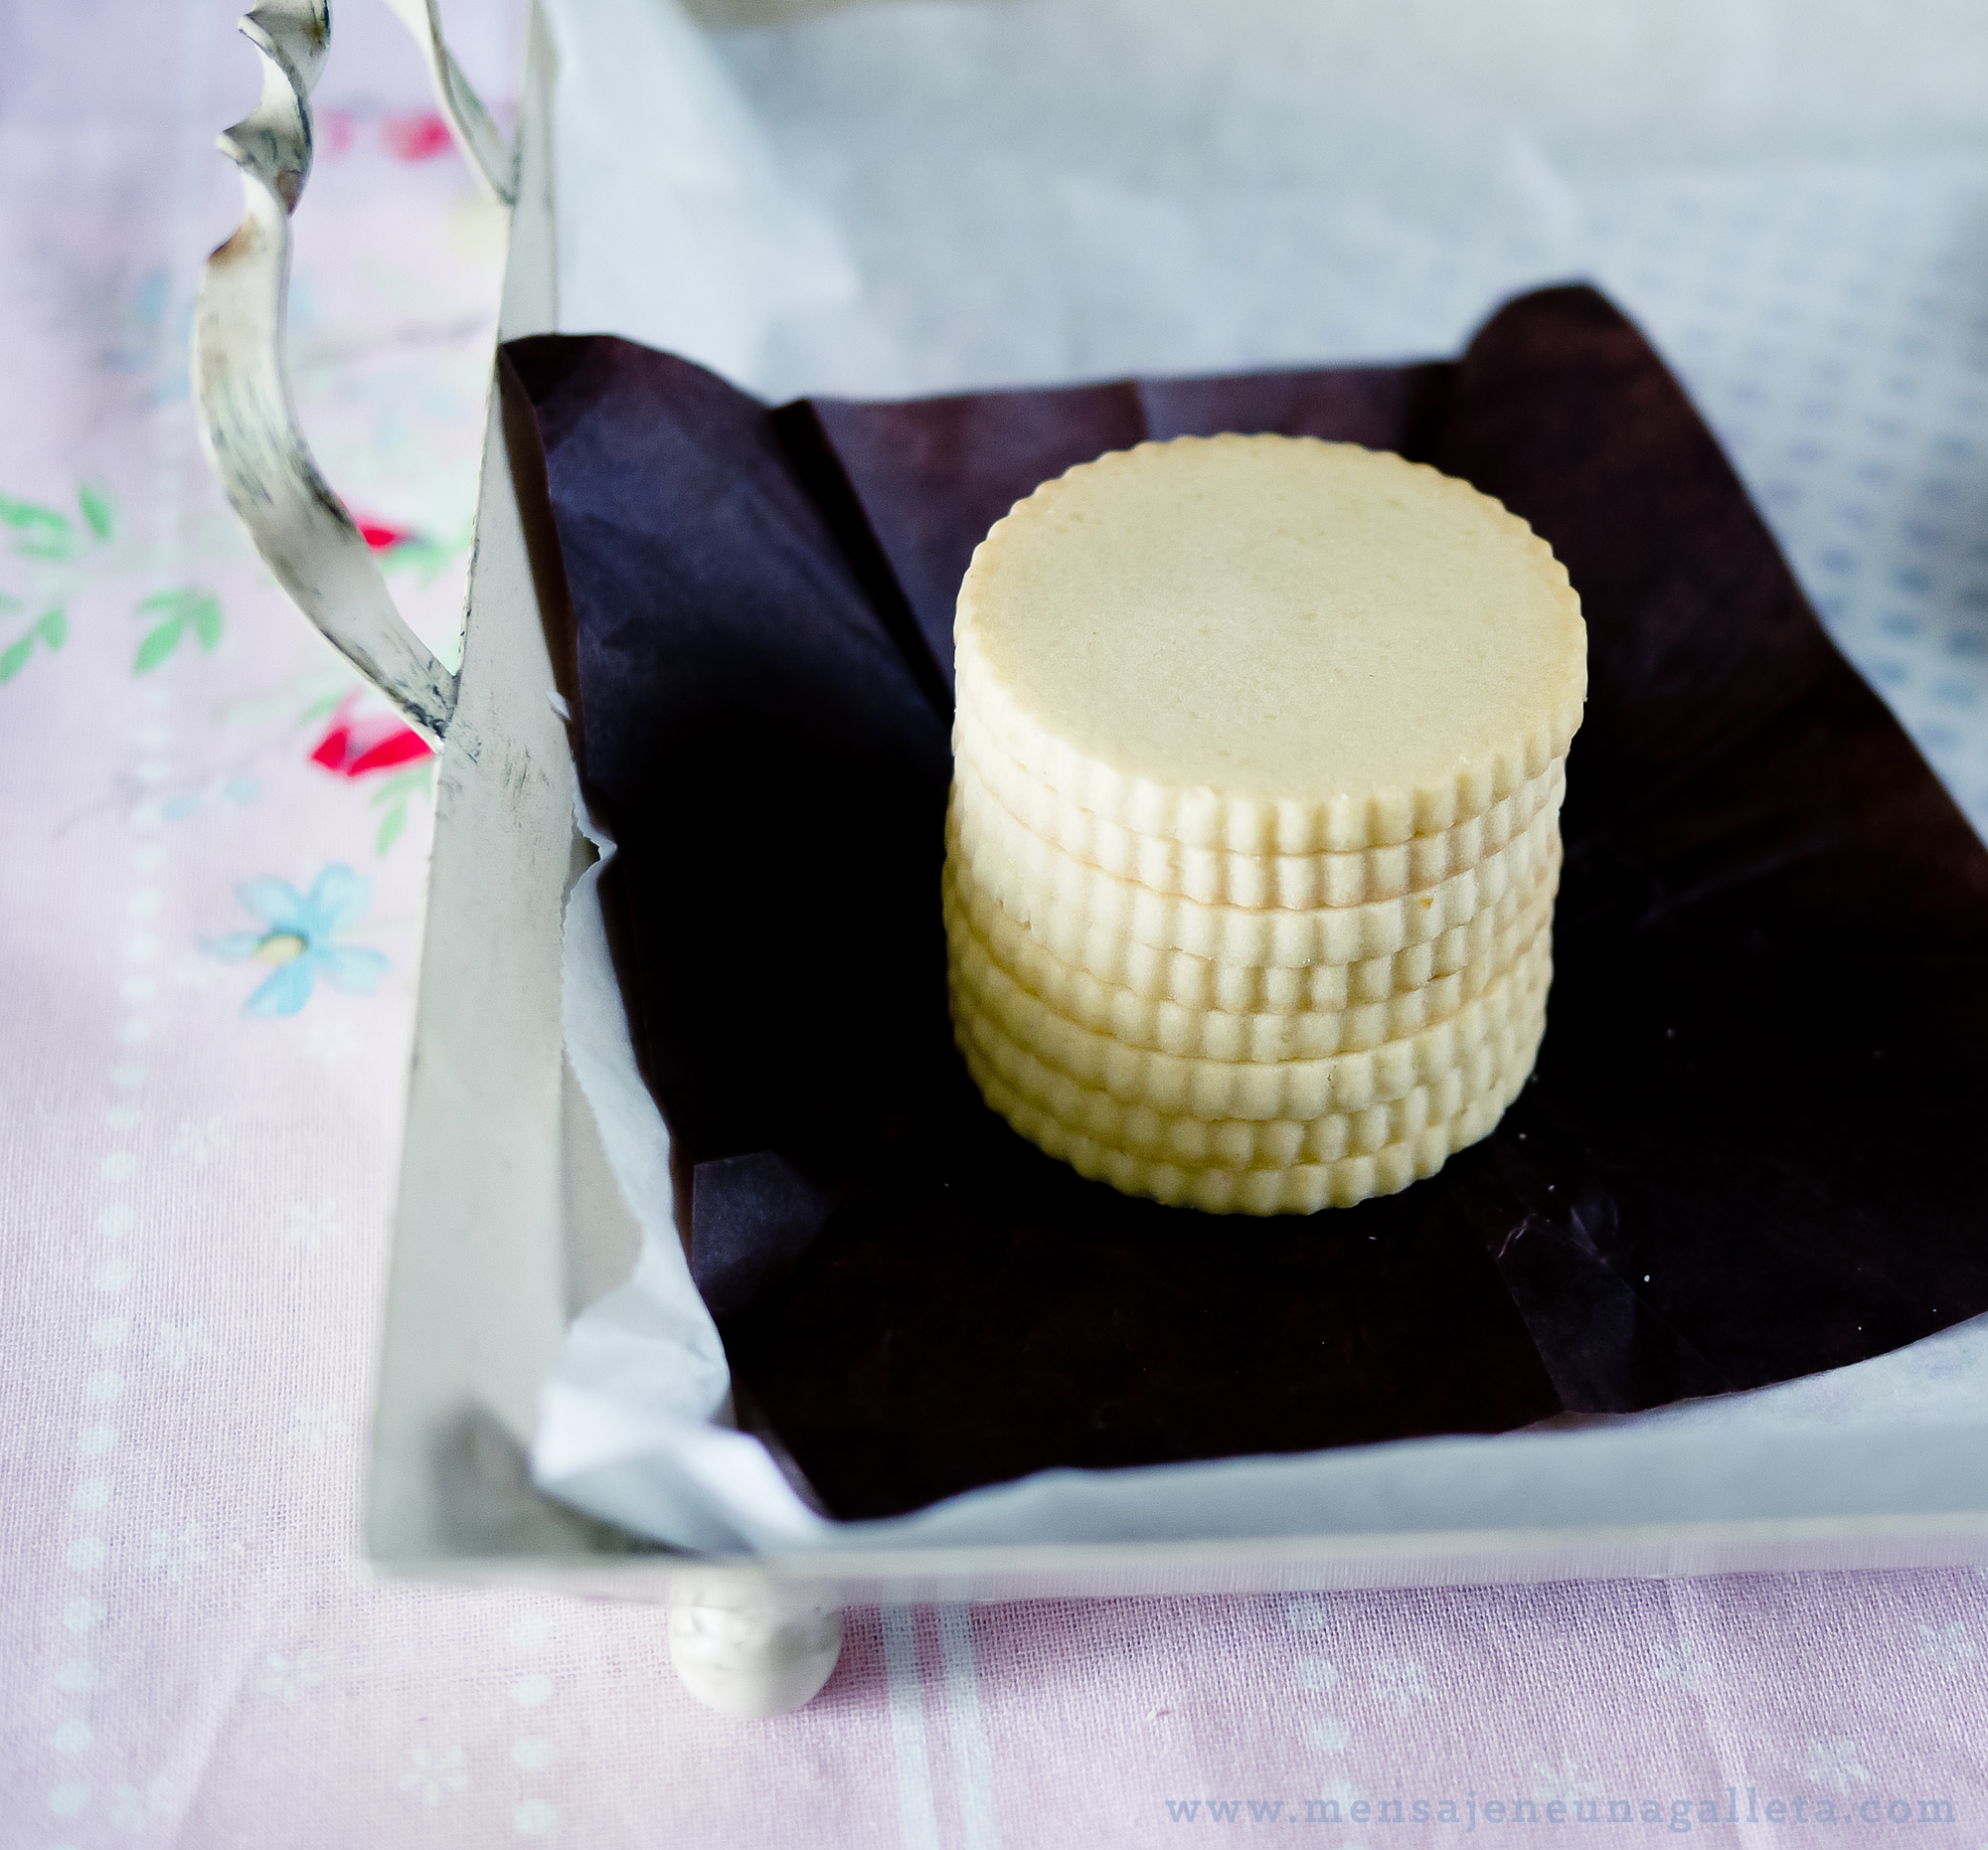
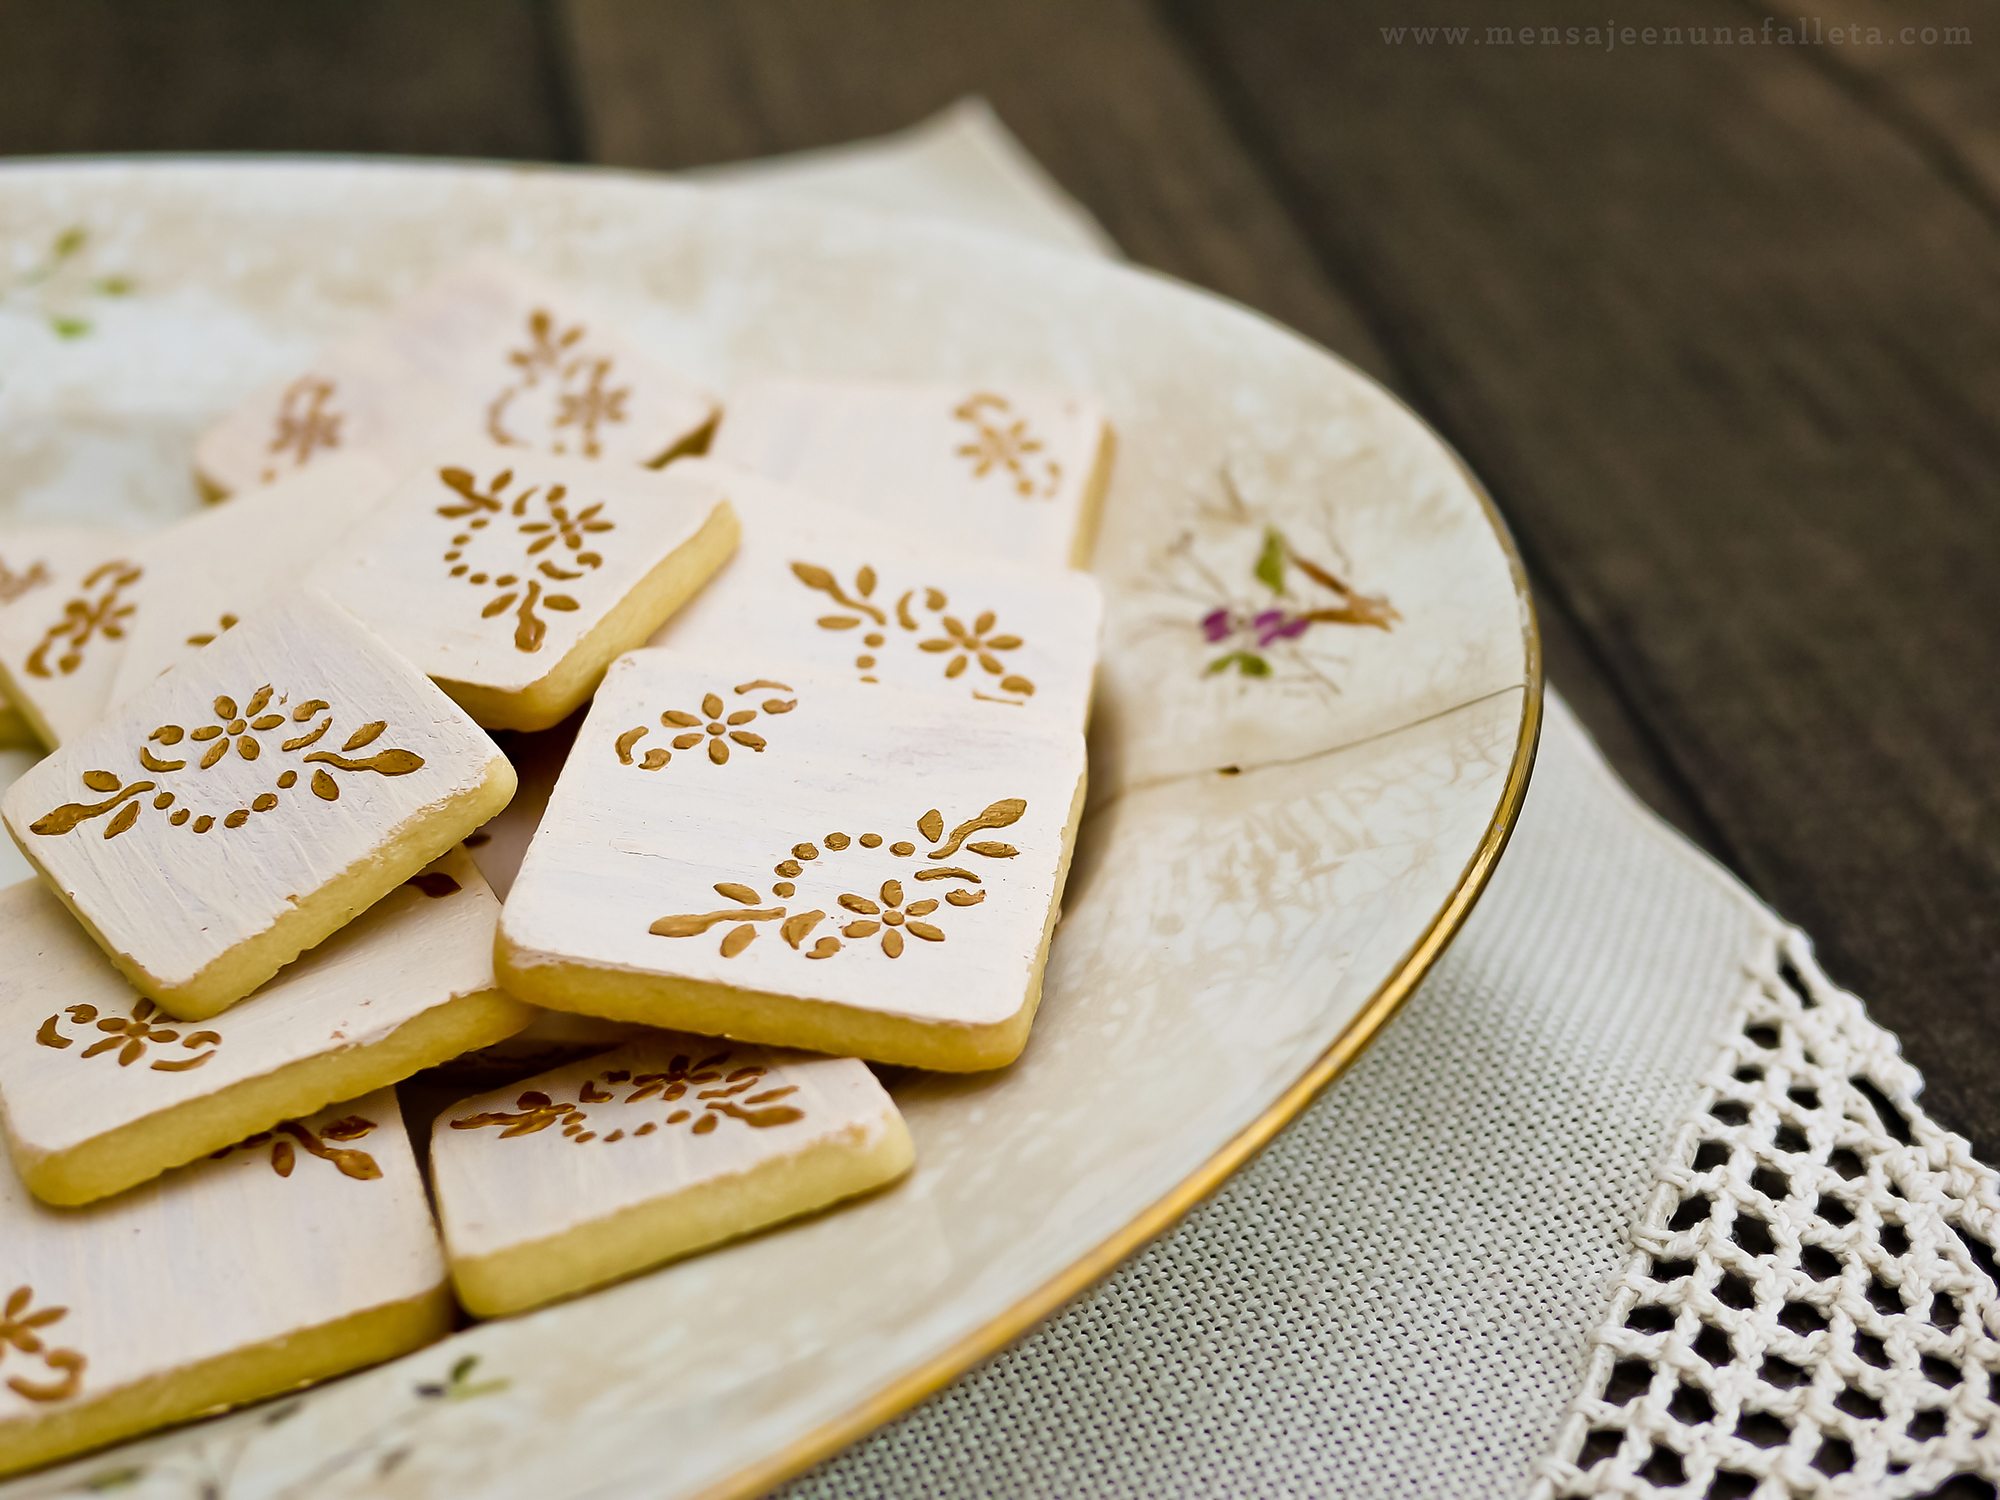
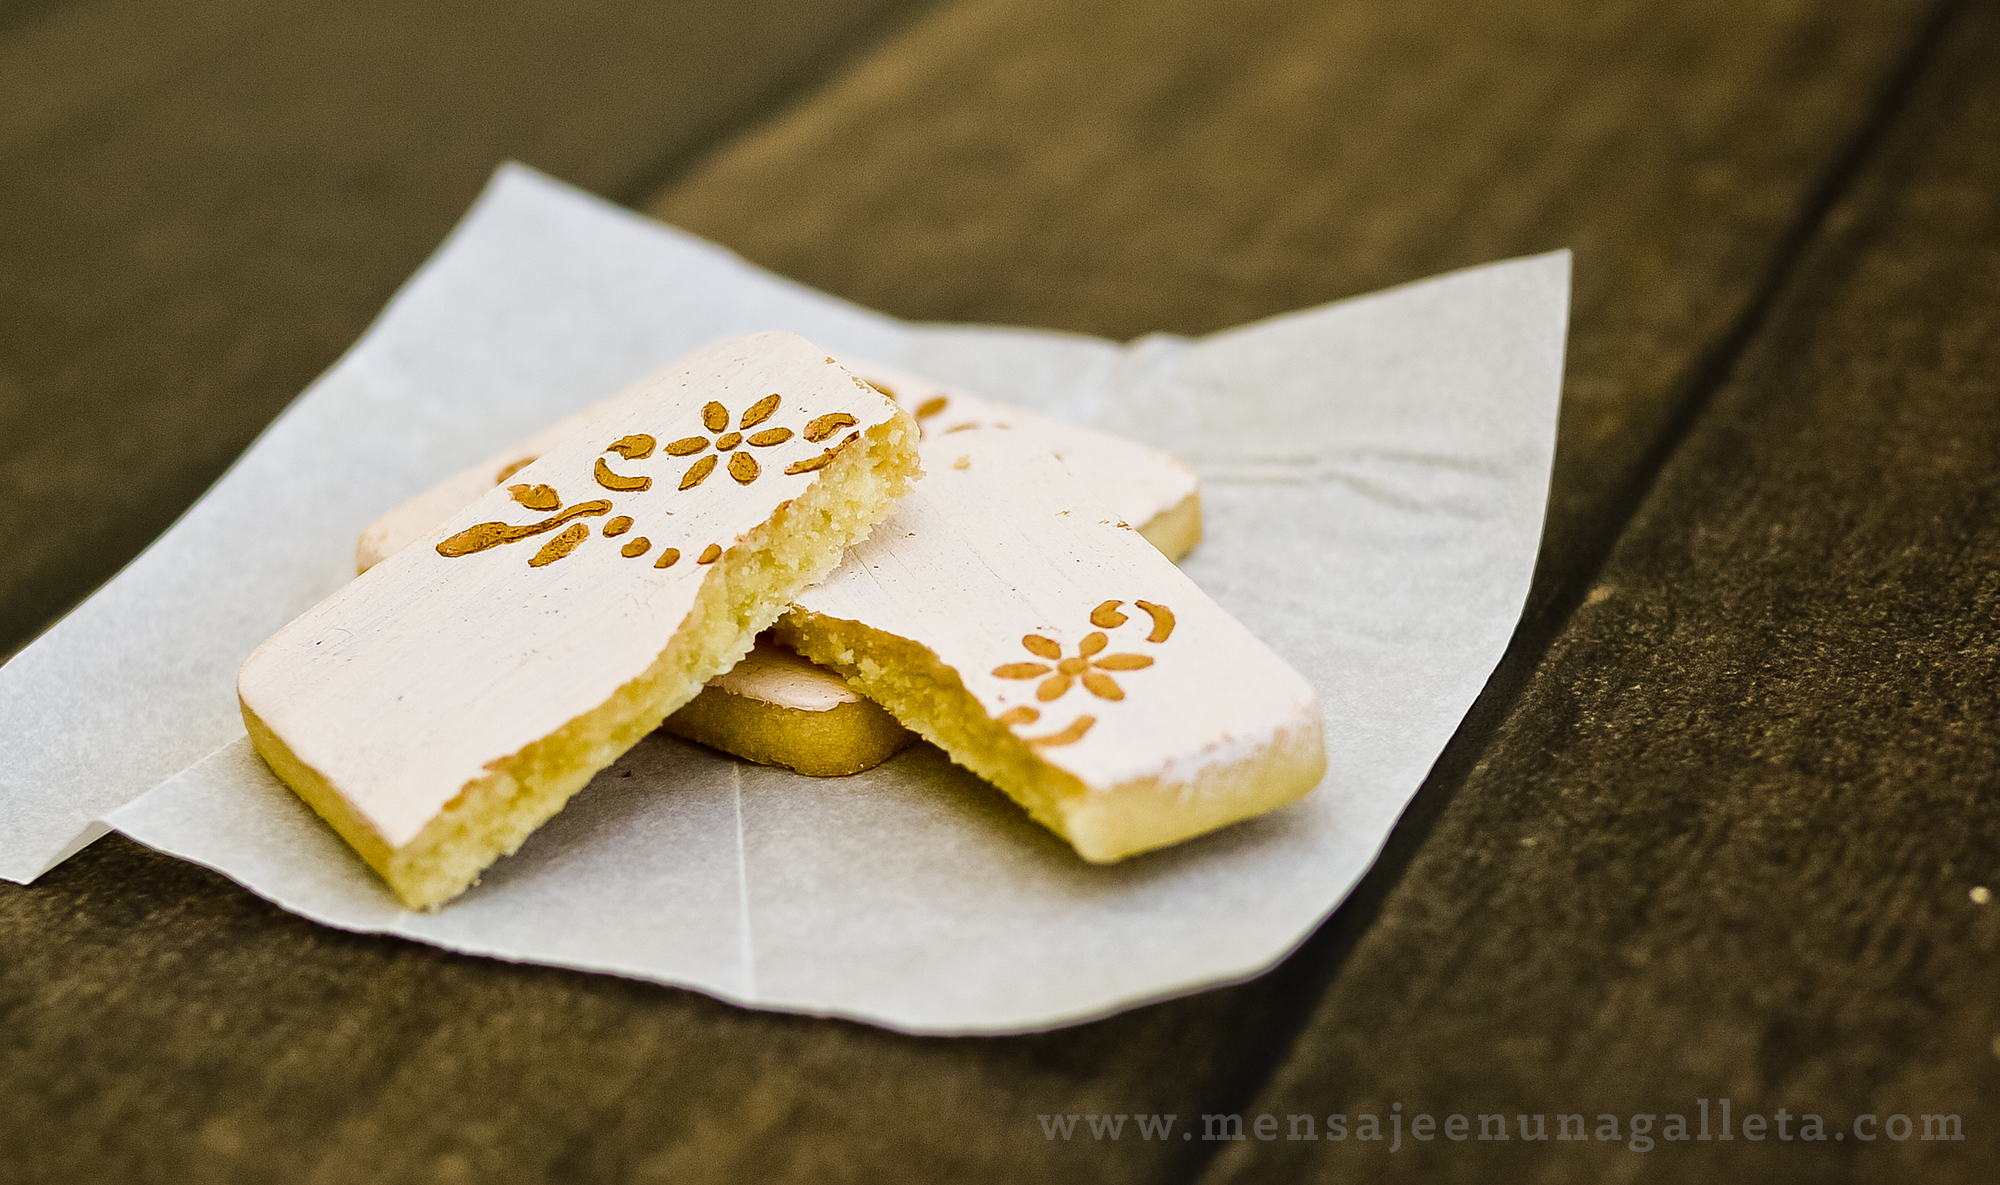
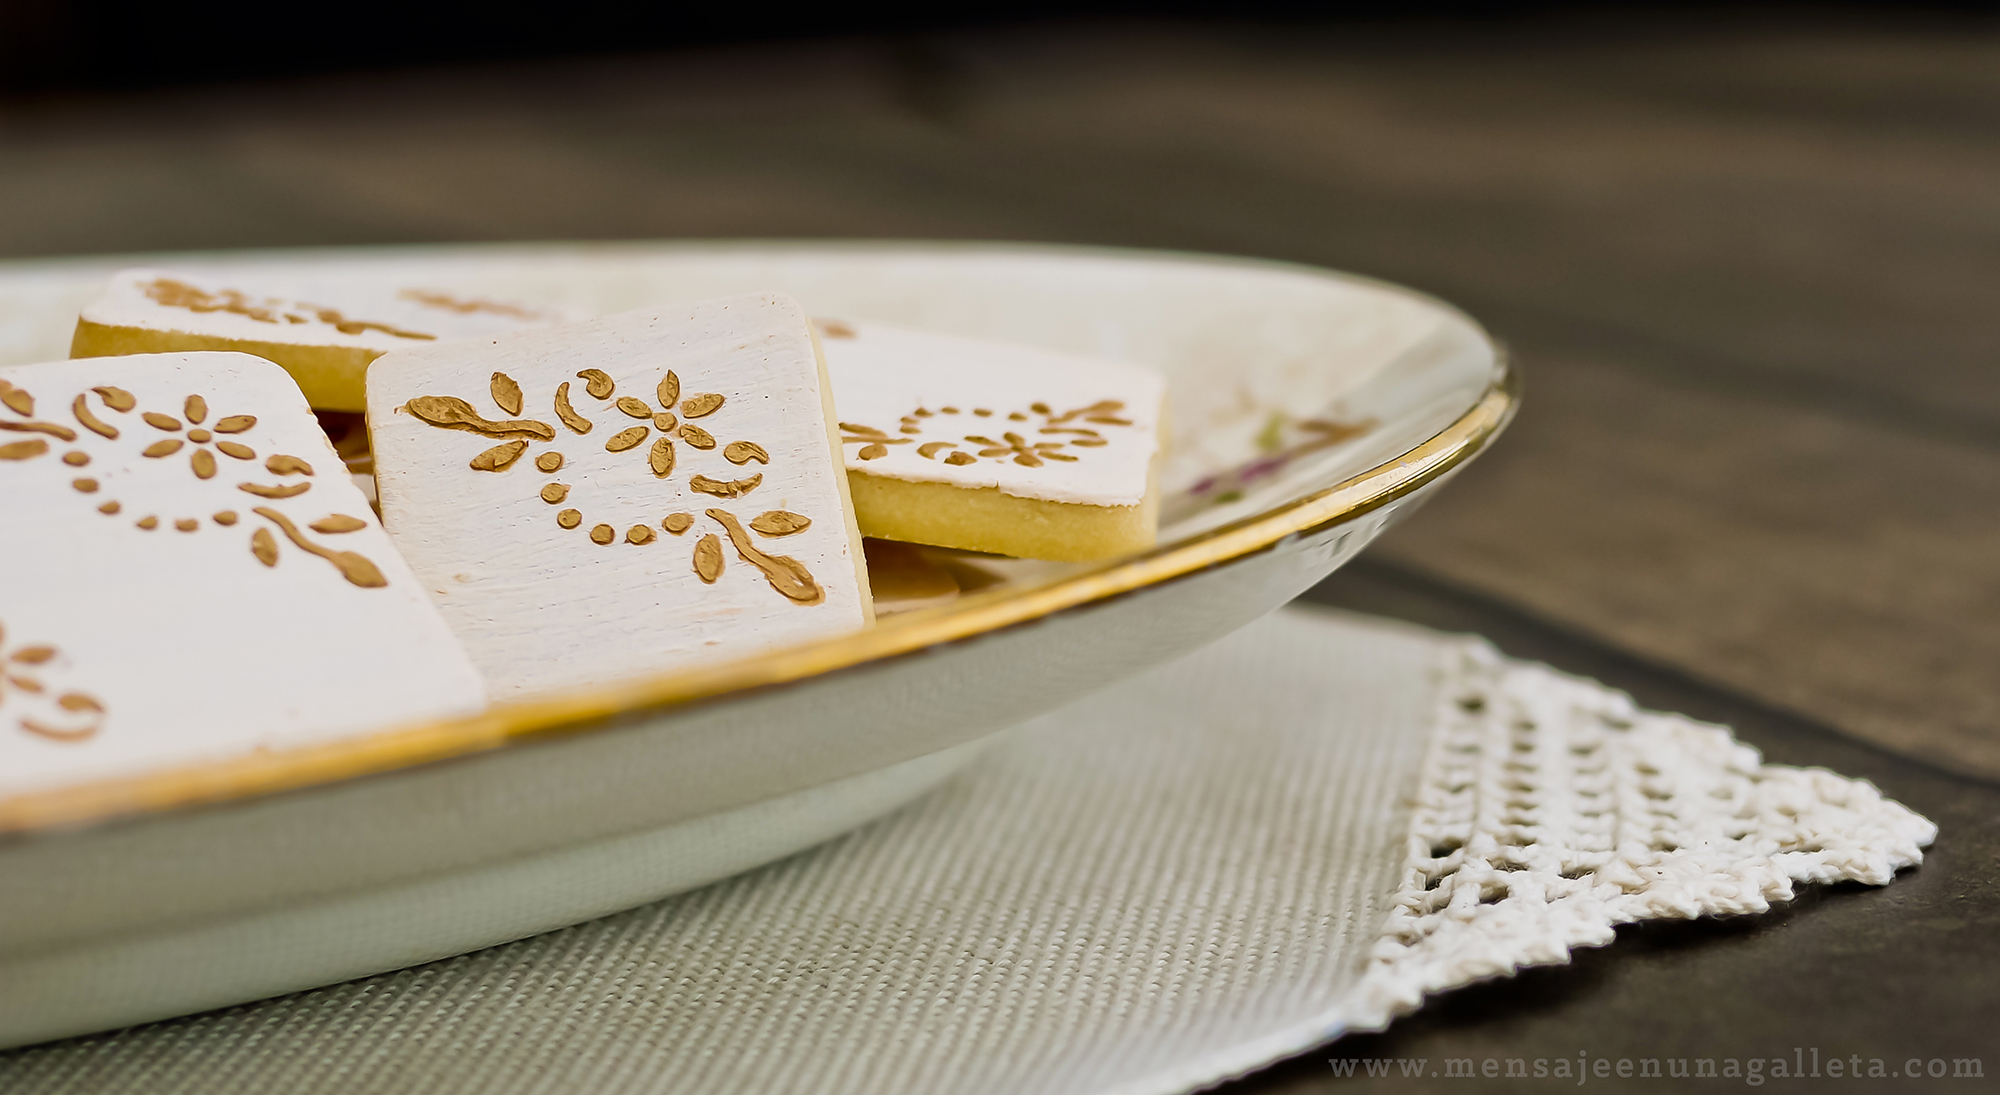
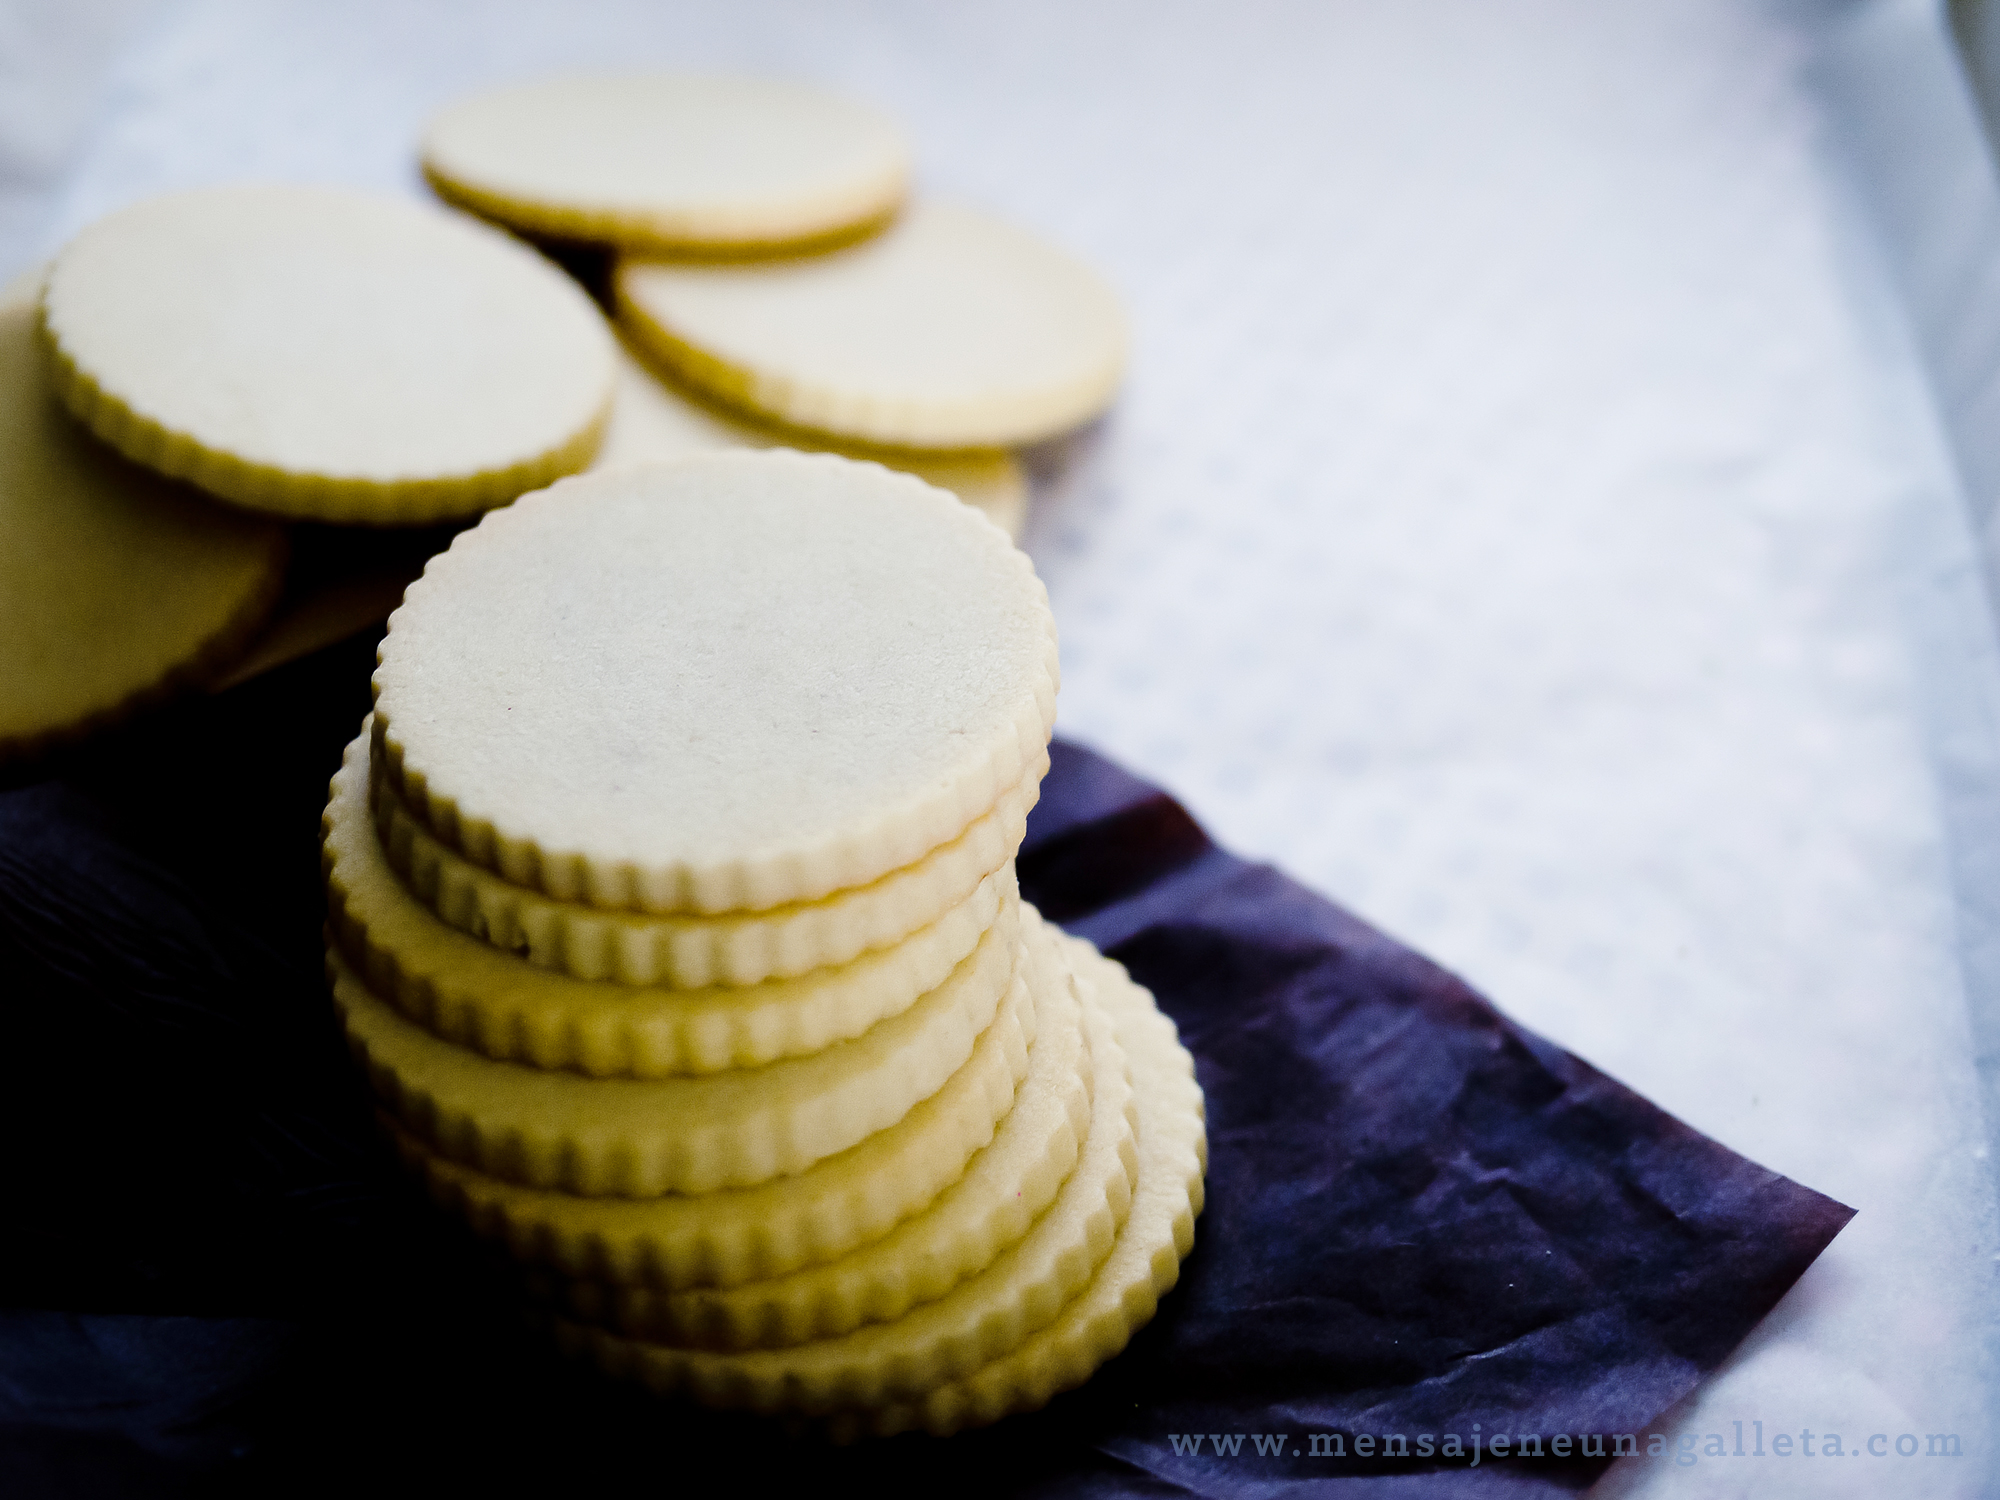
No depende de la receta que las galletas sean apilables, nuestro famoso “efecto moneda” se lo debemos a la superficie sobre la que horneamos. Es imprescindible hornear sobre un tapete de silicona si queremos conseguirlo, porque el papel de horno se humedece y al calentarse se infla y ondula la base de las galletas.

Y esto es todo, no hay más misterios.
Un beso gordo, Miriam G.receta1

Most of you must be thinking: ‘After all we’ve suffered in the online courses now they change the recipe!’ You can rest assured, no, we have not change it. It’s still the same. We had already posted it in several occasions under titles such as ‘Advent Calendar’ or ‘Violet Cookies’ and it was not easy to find. That’s why we have decided to post it again with a title that creates no confusion at all.

As months pass by it is harder and harder for us to answer all the emails we receive; they multiply exponentially, but we don’t, we are still just the two of us. One of the most recurrent doubts is ‘where can I find the recipe for the vanilla cookies?, that’s why we are posting it again, at the risk of being repetitive.

receta4

Ingredients

•    200-225 grams of butter, preferably one light-colored and with a nice taste.
•    150 grams of icing sugar.
•    1 egg (S).
•    1 or 2 teaspoons of aroma, extract or essence.
•    ½ teaspoon of salt.
•    400-420 grams of plain wheat flour.

Elaboration

We can prepare this recipe by hand or using a kitchen robot: KA, Thermomix or any other, as long as we always use an attachment that doesn’t introduce air to the dough; this is very important. Cold is the other factor. No air and a lot of cold, that is the secret of a perfect cookie.

Steps to follow:

•    Beat the butter slightly.
•    Add the icing sugar to the butter and beat at low speed for a short time.
•    Add the egg, the teaspoon of salt and the chosen essence-extract-aroma.
•    Add half of the flour and beat until everything is well integrated.
•    Add the rest of the flour and beat again.
•    Knead fearlessly for a while.
•    Make a ball out of the dough and refrigerate.
•    Roll out the cold dough with a leveling rolling pin.
•    Refrigerate again.
•    Cut the cold cookies and place them on the tray where we are going to bake them.
•    Refrigerate again.
•    Bake them with your nose stuck to the oven window.

The fact that the cookies are stackable or not is something that doesn’t depend on the recipe. Our famous ‘coin effect’ is due to the surface on which we bake. It is imperative to bake on a silicon mat if we want to get it. Parchment paper gets humid and inflates with the heat, rippling the base of the cookies.

receta3

The fact that the cookies are stackable or not is something that doesn’t depend on the recipe. Our famous ‘coin effect’ is due to the surface on which we bake. It is imperative to bake on a silicon mat if we want to get it. Parchment paper gets humid and inflates with the heat, rippling the base of the cookies.

And this is it. There are no more mysteries.

A big fat kiss, Miriam G.

Ingredients

  • 200-225 grams of butter, preferably one light-colored and with a nice taste.
  • 150 grams of icing sugar.
  • 1 egg (S).
  • 1 or 2 teaspoons of aroma, extract or essence.
  • ½ teaspoon of salt.
  • 400-420 grams of plain wheat flour.

Elaboration

We can prepare this recipe by hand or using a kitchen robot: KA, Thermomix or any other, as long as we always use an attachment that doesn’t introduce air to the dough; this is very important. Cold is the other factor. No air and a lot of cold, that is the secret of a perfect cookie.

Steps to follow:

·         Beat the butter slightly.

·         Add the icing sugar to the butter and beat at low speed for a short time.

·         Add the egg, the teaspoon of salt and the chosen essence-extract-aroma.

·         Add half of the flour and beat until everything is well integrated.

·         Add the rest of the flour and beat again.

·         Knead fearlessly for a while.

·         Make a ball out of the dough and refrigerate.

·         Roll out the cold dough with a leveling rolling pin.

·         Refrigerate again.

·         Cut the cold cookies and place them on the tray where we are going to bake them.

·         Refrigerate again.

·         Bake them with your nose stuck to the oven window.

The fact that the cookies are stackable or not is something that doesn’t depend on the recipe. Our famous ‘coin effect’ is due to the surface on which we bake. It is imperative to bake on a silicon mat if we want to get it. Parchment paper gets humid and inflates with the heat, rippling the base of the cookies.

Dale una segunda oportunidad a tus stencilsGive your stencils a second chance

vintage4

No soy nada vintage, ni siquiera lo fui cuando no estaba de moda. ¿Habéis visto alguna vez algo bonito negro y vintage? Ahí tenéis la respuesta, el negro no envejece bien, las pelirrojas al parecer tampoco.

No quería darles ese aire antiguo que tienen. Quizá no debí utilizar “oro viejo” como pintura, ni Ivory en la base, pero fue sin querer, que lo mezclé y salió así.

vintage2

Que levante la mano quien no tenga en su casa al menos un set de stencils sin estrenar. Los stencils son como las mancuernas te las compras pensando en resultados maravillosos y se te pasan los días sin que consigas utilizarlos. Pues bien, lo creáis o no, la semana pasada usé cuatro diferentes. Empecé por las mariposas.

mariposas1

Horneé galletas de chocolate, les añadí colorante negro, y en lugar de teñir glasa para decorarlas preparé pintura comestible usando los electric colors de Americolor. El truco para que la pintura no se corra es que sea muy densa, casi una pasta, así no se escurre por debajo del stencil. Para conseguir esa textura de pasta tenemos que poner poca ginebra y mucho colorante blanco en polvo.
El resultado final me encantó, pero cuando subí las mariposas a Facebook nadie les hizo mucho caso, y a mí que me había parecido tan buena idea… ¡Lo mal que se pasa cuando no comprenden tu obra! Pero lejos desanimarme decidí pasarme al dorado:

dorados

Como seguía necesitando una pintura muy densa, a la del botecito le añadí “las arenas metálicas doradas” para conseguir una pasta que no se corriese al levantar el stencil. Necesité varios intentos:

pinturaliquida

Y ese es todo el misterio de estas galletas, una pasta que nos permita rellenar los agujeritos del stencil. La primera capa es pintura comestible, ivory, blanco, y ginebra, claro .

Esa capa como sabéis se seca muy rápido, pero antes de aplicar el stencil tenéis que aseguraros de que no mancha ni se nota húmeda al pasar el dedo sobre ella.

partida

En decorar dos docenas de estas galletas no tardé apenas media hora, es buen método si nos piden 200 para una boda.

Vintage1

Un beso gordo.vintage4

I’m not vintage at all. Not even when it was not so trendy. Have you ever seen anything that is beautiful, black and vintage? There you have the answer, black doesn’t age well, red haired women apparently either.

I didn’t want to give them the old flair they have. Maybe I shouldn’t have used ‘old gold’ as a paint, or Ivory as a base, but it wasn’t on purpose, I mixed it, and that’s how it turned out.

vintage2

Raise their hands those who don’t have at least a brand new set of unused stencils. Stencils are like the weights you buy thinking about their wonderful results, and then days pass by without using them. Believe it or not, last week I used four different stencils. I started out with the butterflies.

mariposas1

I baked some chocolate cookies, add some black colouring to the dough, and instead of dyeing some royal icing to decorate them, I prepared some edible paint using the electric colours by Americolor. The trick for the paint not to be runny is to make it very thick, almost like a paste, that way it will not get underneath the stencil. In order to get this texture, we need to use very little gin and a lot of white powdered food colouring.

I loved the final result, but when I uploaded the butterflies to Facebook, no one paid them a lot of attention; and I thought it was such a good idea…how awful when people don’t understand your work! But far from being discouraged I decided to ‘go gold’:

dorados

As I still needed a very dense paint, to the one in the bottle I added some ‘metallic golden sands’ to get a paste which didn’t drift when lifting the stencil. It took me several attempts:

pinturaliquida

And that’s all the mystery of these cookies, a paste capable of filling up the holes on the stencils. The first layer is an edible paint, ivory, white and gin, of course.

As you may know by now, that layer dries very fast, but before using the stencil you have to make sure that it doesn’t stain or that it isn’t humid when swiping a finger.

partida

It barely took me half an hour to decorate two dozens of these cookies, it’s a good method if someone asks us for 200 for a wedding.

Vintage1

A big fat kiss, Miriam G.

Thank you Gloria!

Sierra y Canadá – The cookie versionSierra y Canadá – The cookie version

sierraycanadamonton

La mayoría de mis amigas se niegan a escuchar la música que amablemente les sugiero, «Miriam, otro de tus grupos raros NO». Luego van a ver a Alejandro Fernández, porque digo yo que a oírlo, no irán.

No me rindo con facilidad, por eso este verano arrastré a Estíbaliz y a Belén a un concierto de los Mutantes, utilicé tres argumentos: privado, terraza, catering. Lo creáis o no, les gustó. Me vine arriba y en cuanto se despistaron teníamos las entradas y las reservas para el Alhambra Sound. “Por favor, haznos una lista en Spotify, por lo menos que nos sepamos alguna canción”. Un mes después no podían tuitear sin utilizar trozos de las letras de Marc. Ahora las tres somos #muyfanesdesidonie.

Sidonie está a punto de sacar nuevo disco, no creo que podáis adivinar cómo se llama. A Estíbaliz y a mí la espera se nos ha hecho larga, pero nos lo hemos pasado en grande con la promoción previa del disco en redes sociales, echadle un ojo a su Instagram: http://instagram.com/sidonie_. Esa taza pasando de mano en mano pedía a gritos galletas. Nos dispusimos a hacerlas con la esperanza secreta de que no llegaran a verlas, ¡qué vergüenza! El mensajero podía perderlas, un community manager goloso comérselas…

sierraycanadapedestal

Estaréis pensando que una cosa es que esta entrada vaya sin receta y otra que no os vaya a contar cómo hicimos las galletas. ¡Vámonos!

Empiezo por Sierra, que no es una galleta, sino cuatro y para la que necesitamos dos cortadores, uno de sierra y otro de letra I para la abertura del mango. La boquilla hace también funciones de cortador, ahora lo veréis.

cortadores

Sierra fue fácil de encontrar, apareció en una tienda de Barcelona, El Món de la Llar, que nos la hizo llegar con celeridad. En esta galleta usamos dos técnicas, galleta pintada en la hoja y galleta glaseada en el mango. Queríamos pintar la hoja de la sierra directamente sobre la galleta y no sobre glasa, para que el mango quedase elevado respecto a la hoja y conseguir mayor realismo. Queríamos además que brillase mucho y supiese bien. Tras varias catas a ciegas decidimos que las sierras que mejor sabían eran las pintadas con pintura metálica, mejor que con spray y además eran las que más brillaban.

Los tornillos son microgalletas que corté con la boquilla del 16 de pme, horneé y pinté una a una. Lo sé, es un acto de amor verdadero.

metalico

Buscamos a Canadá durante semanas, pero el candidato idóneo no aparecía. Gracias a Dios lo encontró Gloria en California, en este enlace lo podéis ver hasta en el Queen Mary: http://statigr.am/tag/galleteroyviajero. El diseño también se complicó, en las primeras versiones utilizamos masa coloreada, pero no nos decía nada. Así que probamos a pintarlo de rojo. ¡Misión imposible! Probamos Super red, Red red, Extra red, Poppy red, en cuanto mezclábamos los colorantes en gel con el colorante blanco en polvo para formar la pintura comestible, adquirían un tono rosa triste… Casi abandonamos, pero buscando el Christmas red para una última prueba apareció un colorante rojo en polvo que nos había enviado Esther de Mummy crafts y que habíamos olvidado: ¡Gracias Esther! Y mezclándolo con un poco de vodka y un poco de Poppy red: ¡La pintura roja perfecta!

colorantes

Y ahora que ya os lo he contado volvamos a Sidonie, escuchadlos, escuchadlo todo pero empezad por Costa Azul, es mi disco.

Un beso gordo, Miriam G.sierraycanadamonton

Most of my friends refuse to listen to the music that I nicely suggest to them; “Miriam, another one of those weird groups of yours please NO”. Then, they go to see Alejandro Fernández, and I when I say ‘see’ it’s because I seriously doubt they go just to listen to him.

I am not a quitter, and that is why this summer I dragged Estíbaliz and Belén to a concert of Los Niños Mutantes using three arguments: private, terrace, catering. Believe it or not, they liked it. Then, I felt uplifted and when they least expected it we already had the tickets and necessary bookings for the Alhambra Sound Festival. ‘A list on Spotify, please, at least we need to know a couple of songs’. A month later, they were unable to tweet without using Marc’s lyrics. Now, the three of us are #bigfans.

Sidonie is about to release a new record; I don’t think you can guess how it’s called. It’s been a long wait for Estíbaliz and me, but we have had a great time with the record’s previous promotion in the social media, take a look at their Instagram: http://instagram.com/sidonie_ . That mug passing from hand to hand was begging for cookies. We put our hands to it with the secret hope the group will never get to see them: how embarrassing! The courier could lose them; a community manager with a sweet tooth could eat them…

 sierraycanadapedestal

You will be thinking that one thing is that this blog post doesn’t have a recipe and a different one that we are not going to tell you how we made these cookies. Let’s go!

I will begin with Sierra, which is not a cookie, but four, and in order to make it we needed two cutters, a saw-shaped one and an ‘I’ letter for the closed handle. The tip is also a cutter, you will see it now.

cortadores

Sierra was easy to find, it appeared on a shop in Barcelona, El Món de la Llar, which sent it to us really fast. We used two different techniques with this cookie, the saw blade was painted and the handle was iced. We wanted to have the saw blade painted and not iced so the cookie would have two levels and more realism. We also wanted it to shine a lot and taste nice. After several blind tastings we decided that the blades that tasted better were the ones painted with metallic colourings, not spray, and they were also the shinier.

The screws are micro cookies cut with a PME #16 tip that I baked and painted one by one. I know, it was a truly act of love.

metalico

We searched for Canada for weeks, but we could not find the right candidate. Thank God Gloria found it in California, in this link you can see it even in the Queen Mary:  http://statigr.am/tag/galleteroyviajero. The design got complicated too, for our first tests we used colored dough, but it said nothing to us. We tried to paint it in red. Mission impossible! We tried Super Red, Red Red, Extra Red, Poppy Red, in the moment we mixed the gel food colourings with white powdered food coloring to create an edible paint, they turned into sad pink shades…We almost gave up, but looking for Christmas Red for a final try, we found a red powdered food coloring that Esther from Mummy Crafts sent us and which we had totally forgotten about: thank you Esther! And mixing it with a bit of vodka and a bit of Poppy Red: the perfect red paint!

colorantes

And now that I’ve told you about the cookies, let’s go back to Sidonie, listen to all their records, but please start with Costa Azul, it’s my favourite record.

A big fat kiss,Miriam G.

Me has robado el corazón.You’ve stolen my heart

corazonrobado1

Se acerca San Valentín, digamos que no le tengo mucha fe a este santo.  Creo más en San Patricio. Ya lo sabéis, no me compréis bombones, ni me escribáis bonitas frases en una tarjeta, invitadme a cerveza.

Y dicho esto, pasemos a las galletas. Como he repetido en nuestras redes sociales, espero que no hasta el aburrimiento, están inspiradas en una canción que comienza:
“Es el día de la cita te he traído margaritas, del jardín de mi casero: ¡Te quiero!
En mi garganta – EL incendio, 2009 – Sidonie.

El primer paso es hornear, y la afirmación no es baladí, fijaos en las margaritas, también son de galleta, las pinté mal a propósito para que se notase. Así que no podemos empezar por los transfers de glasa, o lo que sería mucho peor por las florecitas de fondant, porque estas galletas, no llevan.

sindecorar

Tenemos nuestras crujientes galletas recién salidas del horno ¿qué hacemos? Esperamos hasta que se enfríen. Lo sé. No es muy emocionante, pero lo que viene a continuación sí: ¡Pintar directamente sobre las galletas! ¿Qué necesitamos?

  • Ginebra, vodka o cualquier otra bebida transparente de alta graduación, y no me digas que no tienes,  que te he visto tomando gintonics en Instagram.
  • Colorante blanco en polvo, usé Sugarflair.
  • Colorante en pasta o gel,  utilicé deep pink de Americolor

Mezclamos cantidades comedidas de los tres ingredientes, empezando con poco blanco y añadiendo más si necesitamos un tono más claro, removemos hasta que no queden grumos, cogemos un pincel de uso alimentario, y a pintar.
Esta “pintura” seca muy rápido, una hora en mi caso: sin calefacción. Como sabéis, ese invento todavía no ha llegado a Málaga, y con bastante humedad relativa.

La pintura para las margaritas solo lleva ginebra y colorante blanco en polvo. Si necesitaseis un acabado menos rústico, algo más plastificado, sólo tenéis que sustituir la ginebra por el spray clear de Pme, que sabe un poco peor.

corazonrobado2

Esta técnica tiene tres  grandes ventajas, es muy rápida, muy fácil pero, por encima de todo, no aporta nada de sabor a las galletas; las que véis en la foto tienen el delicioso sabor que les aportó el chorreón de vainilla bourbon que les eché. Ya no mido la vainilla, soy una tía generosa, vuelco el bote y dejo que caiga.

¡Animaros! Y por favor sentiros libres de usar nuestro muro de facebook para enseñarnos las galletas que decoréis con esta técnica.

Un beso, Miriam G.corazonrobado1

Valentine’s Day is getting closer; let’s say that I’m not very fond of this saint. I believe more in St. Patrick. So now you know, do not buy me chocolates or write me cute lines on a card, buy me a beer instead. And having said this, let’s go with the cookies. As I have repeatedly said in all our social networks, hopefully not till boredom, they are inspired by a song whose first lyrics are:

“Es el día de la cita te he traído margaritas, del jardín de mi casero: ¡Te quiero!
En mi garganta – EL incendio, 2009 – Sidonie.

First step is to bake them, and this is not unimportant, take a good look at the daisies, they are cookies too, badly painted on purpose so you could notice it. So we can’t start with the royal icing transfers, or what could be worse, fondant flowers, because these cookies don’t have any of those things.

sindecorar

We have our crunchy cookies freshly baked, what do we do now? Wait until they cool down. I know, it’s not very exciting, but the next step is: to paint directly on the cookies!
What do we need?

  • Gin, vodka or any other transparent liquor, and do not tell me you don’t have any, because I saw you having gintonics on Instagram.
  • White powdered food coloring, I used Sugarflair.
  • Gel or paste coloring, I used Deep Pink from Americolor.

corazonrobado2

We mix reasonable amounts of the three ingredients, starting with the white powder, and adding more if we need a lighter shade, we stir them until there are no lumps at all, then take a safe food brush, and start painting.
This ‘paint’ dries very fast, an hour in my case: no heating (as you know, that invention has not reached Málaga yet) and with a lot of relative humidity.

The paint for the daisies consists only in gin and white powdered food coloring. If you need a less rustic finish, something more plasticky, you just have to substitute gin for the PME clear spray, which tastes a little worse. This technique has three big advantages: it is very fast, very easy but most of all, it doesn’t add any flavor to the cookies: the ones you see in the pictures have the delicious taste of the generous amount of vanilla bourbon that I used. I never measure vanilla anymore; I am a lavish girl, just flip the jar and let it run.

Go for these! And please feel free to use our Facebook wall to show us the cookies you decorate using this technique.

Love,
Miriam G.