Súper Concurso La Tallerería- FINALIZADO

Nuestro talleres son online, es cierto, pero no lo parecen, son un lugar agradable donde reunirse, hacer amistades, reír y aprender. Nosotras y, creemos que podemos hablar por todos los profes de La tallerería, nos enriquecemos en cada taller con las aportaciones de las alumnas: Enseñamos y aprendemos.

Muchos cursos online te ofrecen información y un correo o un grupo de facebook para consultar tus dudas. La Tallerería no funciona de esta manera, nuestra filosofía es sencilla “hacemos las cosas juntos”. Y te preguntarás cómo es posible que esto ocurra, si tú estás en México o en Madrid y nosotras en Málaga, o en Corea. Nuestros talleres tienen ritmo, pero no tienen horarios, esto facilita la interacción. Cada día recibirás información, tutoriales detallados, ilustrados con muchos vídeos y fotos. Y como es un taller, por supuesto tendrás muchas cosas que hacer, no te asustes, te gustarán tanto los ejercicios que planteamos que encontrarás tiempo para hacerlos. Disfrutarás leyendo las correcciones del profesor y los comentarios de tus compañeros. Las semanas se te pasarán volando. Dentro vídeo:

Hemos organizado un super concurso, nos hemos vuelto locas y el premio son 9 plazas, una para cada uno de los talleres programados de aquí al verano.

Cómo participar:

  1. Tienes que compartir nuestro logo de forma pública en Facebook o «retuitear» el vídeo en Twitter. A tu elección, pero mira, si es en los dos, mejor que mejor.
  2. El logo de Mensaje en una galleta aparece varías veces en el vídeo, tienes que descubrir en qué minuto y segundo.
  3. Escríbenos un correo a concurso@mensajeenunagalleta.com indicándonos en qué momento aparece el logo y qué talleres te gustaría hacer por orden de preferencia.

Premios:

Plazos

  • Para el Taller de galletas para pintar puedes escribirnos hasta el viernes 25 de abril a las 14:00. Esa misma tarde publicaremos el ganador.
  • Para el resto de los talleres puedes escribirnos hasta el viernes 2 de mayo a las 14:00. Esa misma tarde publicaremos los ganadores.

Notas:

  • El taller se sorteará entre todos los acertantes de cada categoría.
  • Si ya estás inscrito en el taller en el que resultes agraciado te reintegramos el importe.
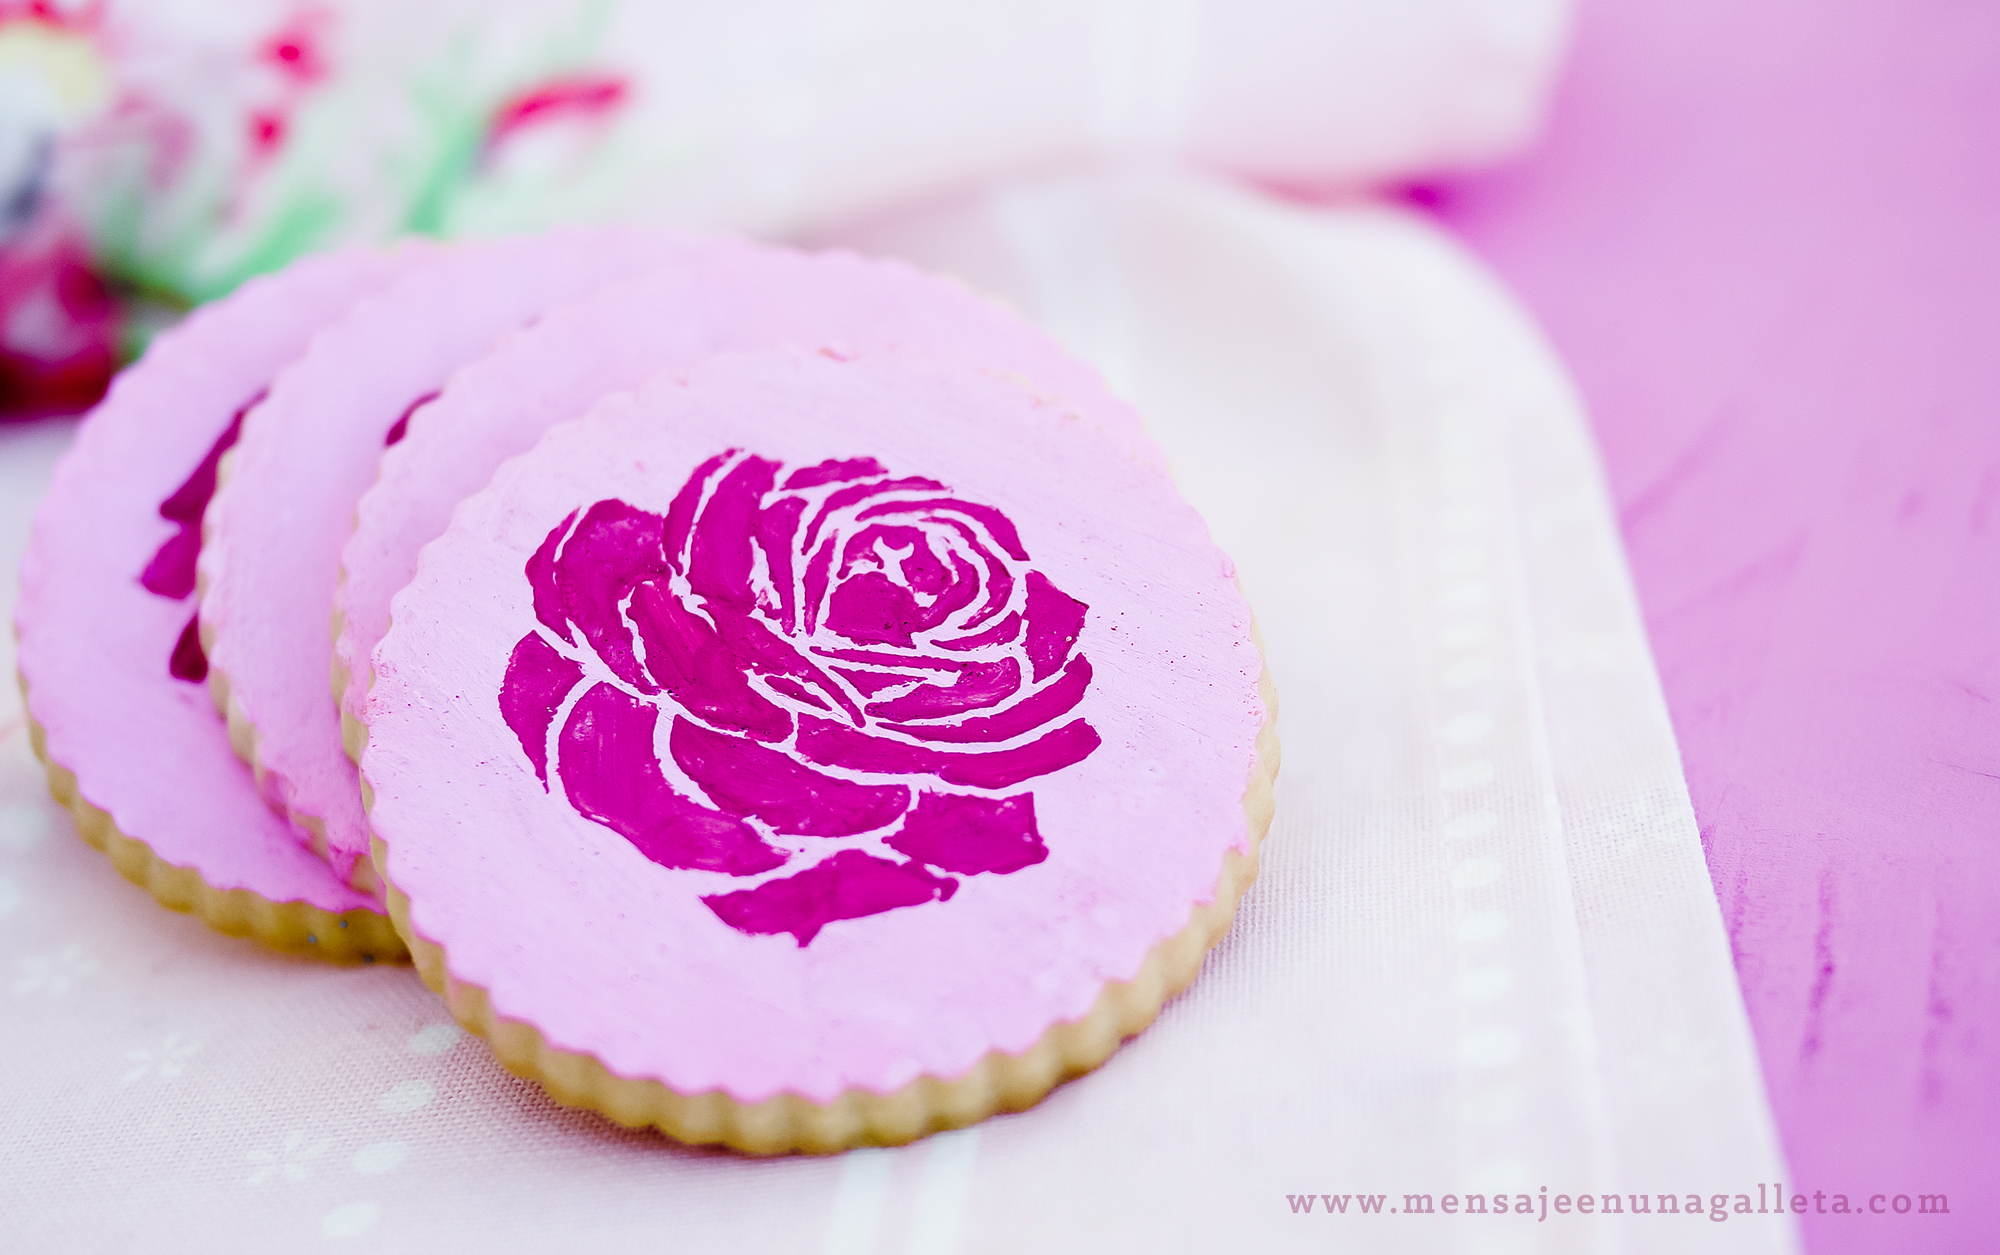
  • Para los despistados, este es nuestro logo:

logocuadrado

Finalmente, estas han sido las GANADORAS:

En breve nos pondremos en contacto con ellas por correo para darles la enhorabuena personalmente

¡Muchísimas gracias a todos por participar!

Un beso muy muy gordo, Estíbaliz y Miriam.

Edición número 40.000 del taller de galletas avanzadas – ¡Ya tenemos ganadoras!

princesas

Sí, lo sabemos, el título lleva a engaño, pero es lo que tiene la emoción, que lo desbarata todo. No es la edición número 40.000 (¡aunque tenemos la esperanza loca de llegar a ella!). Pero sí que hemos llegado a ese número de fans en Facebook.

De acuerdo, Facebook ya no es lo que era, nos tiene a todos jugando al escondite, y la cifra no es astronómica, pero para nosotras los fans de Facebook nunca han sido un número si no un puñado de amigos que nos leen y a los que leemos, que nos escriben y a los que escribimos, ya sabéis, las cosas del querer 😉

Para celebrarlo hemos organizado un concurso express, con un pequeño premio, una plaza de la nueva edición del taller de galletas avanzadas. Participar es sencillísimo.

  • Decorar una galleta utilizando la técnica de pintura sobre galleta. Podéis combinar o no esta técnica con tantas otras como queráis.
  • Subir una foto de la galleta a vuestro muro de Facebook de forma pública y etiquetándonos.
  • Dejarnos un comentario en esta entrada con el enlace a esa foto.

El lunes 28 de abril anunciaremos la galleta ganadora. Valoraremos sobre todo la originalidad del diseño. Las inscripciones para este taller son el jueves día 10 de abril, si la persona ganadora estuviese inscrita ya en el taller, podrá elegir entre que le devolvamos el importe o una plaza para cualquier otro taller de La Tallerería.

rosablog

Pero como no nos parecía suficiente celebración, también os hemos preparado un vídeo en el que podéis ver lo fácil que usar los stencils con nuestra pintura comestible. ¡Esperamos que os guste!

Hemos recibido un montón de preciosas propuestas. Nos costó un montón seleccionar dos, y cuando intentamos quedarnos con solo una, no lo conseguimos. Las flamantes ganadoras de nuestro concurso son.

Marta de Little Noa:

FLOR-DE-CEREZO-Little-Noa

Andrea de Repostería Elvis Cocho:

SAMSUNG CAMERA PICTURES

Galletas para decorar, la receta definitivaCookies for decorating, the final recipe

En septiembre tenemos una nueva edición de nuestro curso de galletas, en solo cuatro semanas te convertirás en una experta, toda la información en este enlace.

También puedes visitar nuestra agenda, septiembre viene repletito de talleres.

Si quieres estar al día de fechas, talleres y novedades, puedes suscribirte aquí. Además para hacer más llevadera la vuelta si te suscribes te mandamos un regalo a tu correo.

receta1

Muchas estaréis pensando: “¡Después de lo que hemos sufrido en los talleres ahora nos cambian la receta!” Podéis respirar, no, no la hemos cambiado. Sigue siendo la misma. Ya la habíamos publicado en el blog en dos o tres ocasiones, pero bajo títulos tales como “Calendario de adviento” o “Galletas de violeta”  y  no era fácil de encontrar. Por eso nos hemos decidido a publicarla de nuevo y con un título que no admita confusión.

Según pasan los meses se nos hace cada vez más difícil contestar todos correos que nos escribís, ellos se multiplican exponencialmente y nosotras no, seguimos siendo dos. Una de las dudas recurrentes es “¿Dónde puedo encontrar la receta de las galletas de vainilla?”,  por eso la volvemos a publicar, arriesgándonos a parecer pesadas.

receta4

Ingredientes

•    200-225 gramos de mantequilla de color claro y buen sabor
•    150 gramos de azúcar glas
•    1 huevo pequeño
•    1 ó 2 cucharaditas de aroma, extracto o esencia
•    ½ cucharadita de sal
•    400-420 gr de harina floja

Elaboración

Podemos preparar esta receta a mano o a máquina. En KA, en Thermomix o en cualquier otro robot, pero siempre con el accesorio que menos aire introduzca en la masa, esto es importante. El frío es el otro factor. Nada de aire y mucho frío, ese es el secreto para una galleta perfecta.

Los pasos a seguir:

•    Batimos ligeramente la mantequilla.
•    Añadimos el azúcar glas a la mantequilla y batimos a velocidad baja poco tiempo
•    Añadimos el huevo, la cucharita de sal y la esencia-extracto-aroma elegido
•    Añadimos la mitad de la harina y batimos hasta integrar.
•    Añadimos la mitad restante y volvemos a batir.
•    Amasamos sin miedo un buen rato.
•    Hacemos una pelota con la masa y la enfriamos.
•    Estiramos la masa muy fría con un rodillo de niveles.
•    Volvemos a enfriar.
•    Cortamos las galletas en frío y las depositamos sobre la bandeja donde las vayamos a hornear.
•    Volvemos a enfriar.
•    Horneamos sin separar nuestra nariz de la ventana del horno.

receta3

No depende de la receta que las galletas sean apilables, nuestro famoso “efecto moneda” se lo debemos a la superficie sobre la que horneamos. Es imprescindible hornear sobre un tapete de silicona si queremos conseguirlo, porque el papel de horno se humedece y al calentarse se infla y ondula la base de las galletas.

Y esto es todo, no hay más misterios.
Un beso gordo, Miriam G.receta1

Most of you must be thinking: ‘After all we’ve suffered in the online courses now they change the recipe!’ You can rest assured, no, we have not change it. It’s still the same. We had already posted it in several occasions under titles such as ‘Advent Calendar’ or ‘Violet Cookies’ and it was not easy to find. That’s why we have decided to post it again with a title that creates no confusion at all.

As months pass by it is harder and harder for us to answer all the emails we receive; they multiply exponentially, but we don’t, we are still just the two of us. One of the most recurrent doubts is ‘where can I find the recipe for the vanilla cookies?, that’s why we are posting it again, at the risk of being repetitive.

receta4

Ingredients

•    200-225 grams of butter, preferably one light-colored and with a nice taste.
•    150 grams of icing sugar.
•    1 egg (S).
•    1 or 2 teaspoons of aroma, extract or essence.
•    ½ teaspoon of salt.
•    400-420 grams of plain wheat flour.

Elaboration

We can prepare this recipe by hand or using a kitchen robot: KA, Thermomix or any other, as long as we always use an attachment that doesn’t introduce air to the dough; this is very important. Cold is the other factor. No air and a lot of cold, that is the secret of a perfect cookie.

Steps to follow:

•    Beat the butter slightly.
•    Add the icing sugar to the butter and beat at low speed for a short time.
•    Add the egg, the teaspoon of salt and the chosen essence-extract-aroma.
•    Add half of the flour and beat until everything is well integrated.
•    Add the rest of the flour and beat again.
•    Knead fearlessly for a while.
•    Make a ball out of the dough and refrigerate.
•    Roll out the cold dough with a leveling rolling pin.
•    Refrigerate again.
•    Cut the cold cookies and place them on the tray where we are going to bake them.
•    Refrigerate again.
•    Bake them with your nose stuck to the oven window.

The fact that the cookies are stackable or not is something that doesn’t depend on the recipe. Our famous ‘coin effect’ is due to the surface on which we bake. It is imperative to bake on a silicon mat if we want to get it. Parchment paper gets humid and inflates with the heat, rippling the base of the cookies.

receta3

The fact that the cookies are stackable or not is something that doesn’t depend on the recipe. Our famous ‘coin effect’ is due to the surface on which we bake. It is imperative to bake on a silicon mat if we want to get it. Parchment paper gets humid and inflates with the heat, rippling the base of the cookies.

And this is it. There are no more mysteries.

A big fat kiss, Miriam G.

Ingredients

  • 200-225 grams of butter, preferably one light-colored and with a nice taste.
  • 150 grams of icing sugar.
  • 1 egg (S).
  • 1 or 2 teaspoons of aroma, extract or essence.
  • ½ teaspoon of salt.
  • 400-420 grams of plain wheat flour.

Elaboration

We can prepare this recipe by hand or using a kitchen robot: KA, Thermomix or any other, as long as we always use an attachment that doesn’t introduce air to the dough; this is very important. Cold is the other factor. No air and a lot of cold, that is the secret of a perfect cookie.

Steps to follow:

·         Beat the butter slightly.

·         Add the icing sugar to the butter and beat at low speed for a short time.

·         Add the egg, the teaspoon of salt and the chosen essence-extract-aroma.

·         Add half of the flour and beat until everything is well integrated.

·         Add the rest of the flour and beat again.

·         Knead fearlessly for a while.

·         Make a ball out of the dough and refrigerate.

·         Roll out the cold dough with a leveling rolling pin.

·         Refrigerate again.

·         Cut the cold cookies and place them on the tray where we are going to bake them.

·         Refrigerate again.

·         Bake them with your nose stuck to the oven window.

The fact that the cookies are stackable or not is something that doesn’t depend on the recipe. Our famous ‘coin effect’ is due to the surface on which we bake. It is imperative to bake on a silicon mat if we want to get it. Parchment paper gets humid and inflates with the heat, rippling the base of the cookies.

Dale una segunda oportunidad a tus stencilsGive your stencils a second chance

vintage4

No soy nada vintage, ni siquiera lo fui cuando no estaba de moda. ¿Habéis visto alguna vez algo bonito negro y vintage? Ahí tenéis la respuesta, el negro no envejece bien, las pelirrojas al parecer tampoco.

No quería darles ese aire antiguo que tienen. Quizá no debí utilizar “oro viejo” como pintura, ni Ivory en la base, pero fue sin querer, que lo mezclé y salió así.

vintage2

Que levante la mano quien no tenga en su casa al menos un set de stencils sin estrenar. Los stencils son como las mancuernas te las compras pensando en resultados maravillosos y se te pasan los días sin que consigas utilizarlos. Pues bien, lo creáis o no, la semana pasada usé cuatro diferentes. Empecé por las mariposas.

mariposas1

Horneé galletas de chocolate, les añadí colorante negro, y en lugar de teñir glasa para decorarlas preparé pintura comestible usando los electric colors de Americolor. El truco para que la pintura no se corra es que sea muy densa, casi una pasta, así no se escurre por debajo del stencil. Para conseguir esa textura de pasta tenemos que poner poca ginebra y mucho colorante blanco en polvo.
El resultado final me encantó, pero cuando subí las mariposas a Facebook nadie les hizo mucho caso, y a mí que me había parecido tan buena idea… ¡Lo mal que se pasa cuando no comprenden tu obra! Pero lejos desanimarme decidí pasarme al dorado:

dorados

Como seguía necesitando una pintura muy densa, a la del botecito le añadí “las arenas metálicas doradas” para conseguir una pasta que no se corriese al levantar el stencil. Necesité varios intentos:

pinturaliquida

Y ese es todo el misterio de estas galletas, una pasta que nos permita rellenar los agujeritos del stencil. La primera capa es pintura comestible, ivory, blanco, y ginebra, claro .

Esa capa como sabéis se seca muy rápido, pero antes de aplicar el stencil tenéis que aseguraros de que no mancha ni se nota húmeda al pasar el dedo sobre ella.

partida

En decorar dos docenas de estas galletas no tardé apenas media hora, es buen método si nos piden 200 para una boda.

Vintage1

Un beso gordo.vintage4

I’m not vintage at all. Not even when it was not so trendy. Have you ever seen anything that is beautiful, black and vintage? There you have the answer, black doesn’t age well, red haired women apparently either.

I didn’t want to give them the old flair they have. Maybe I shouldn’t have used ‘old gold’ as a paint, or Ivory as a base, but it wasn’t on purpose, I mixed it, and that’s how it turned out.

vintage2

Raise their hands those who don’t have at least a brand new set of unused stencils. Stencils are like the weights you buy thinking about their wonderful results, and then days pass by without using them. Believe it or not, last week I used four different stencils. I started out with the butterflies.

mariposas1

I baked some chocolate cookies, add some black colouring to the dough, and instead of dyeing some royal icing to decorate them, I prepared some edible paint using the electric colours by Americolor. The trick for the paint not to be runny is to make it very thick, almost like a paste, that way it will not get underneath the stencil. In order to get this texture, we need to use very little gin and a lot of white powdered food colouring.

I loved the final result, but when I uploaded the butterflies to Facebook, no one paid them a lot of attention; and I thought it was such a good idea…how awful when people don’t understand your work! But far from being discouraged I decided to ‘go gold’:

dorados

As I still needed a very dense paint, to the one in the bottle I added some ‘metallic golden sands’ to get a paste which didn’t drift when lifting the stencil. It took me several attempts:

pinturaliquida

And that’s all the mystery of these cookies, a paste capable of filling up the holes on the stencils. The first layer is an edible paint, ivory, white and gin, of course.

As you may know by now, that layer dries very fast, but before using the stencil you have to make sure that it doesn’t stain or that it isn’t humid when swiping a finger.

partida

It barely took me half an hour to decorate two dozens of these cookies, it’s a good method if someone asks us for 200 for a wedding.

Vintage1

A big fat kiss, Miriam G.

Thank you Gloria!